Replacing a broken LCD Screen on my Acer Spin 5
How I repaired my laptop screen myself
In December 2021, I bought a laptop for university. At the time, I enjoyed taking handwritten notes and was enrolled in several theoretical courses where submitting assignments with just a keyboard and mouse was inconvenient. So, I decided to get a convertible laptop and chose the Acer Spin 5, model SP513-54N.
The laptop screen can rotate 360°, and you can write on it with the included touch pen. Acer collaborated with Wacom, a leading drawing tablet manufacturer, for this feature. The touchscreen is very precise and detects how hard the pen is pressed, which is great for drawing.
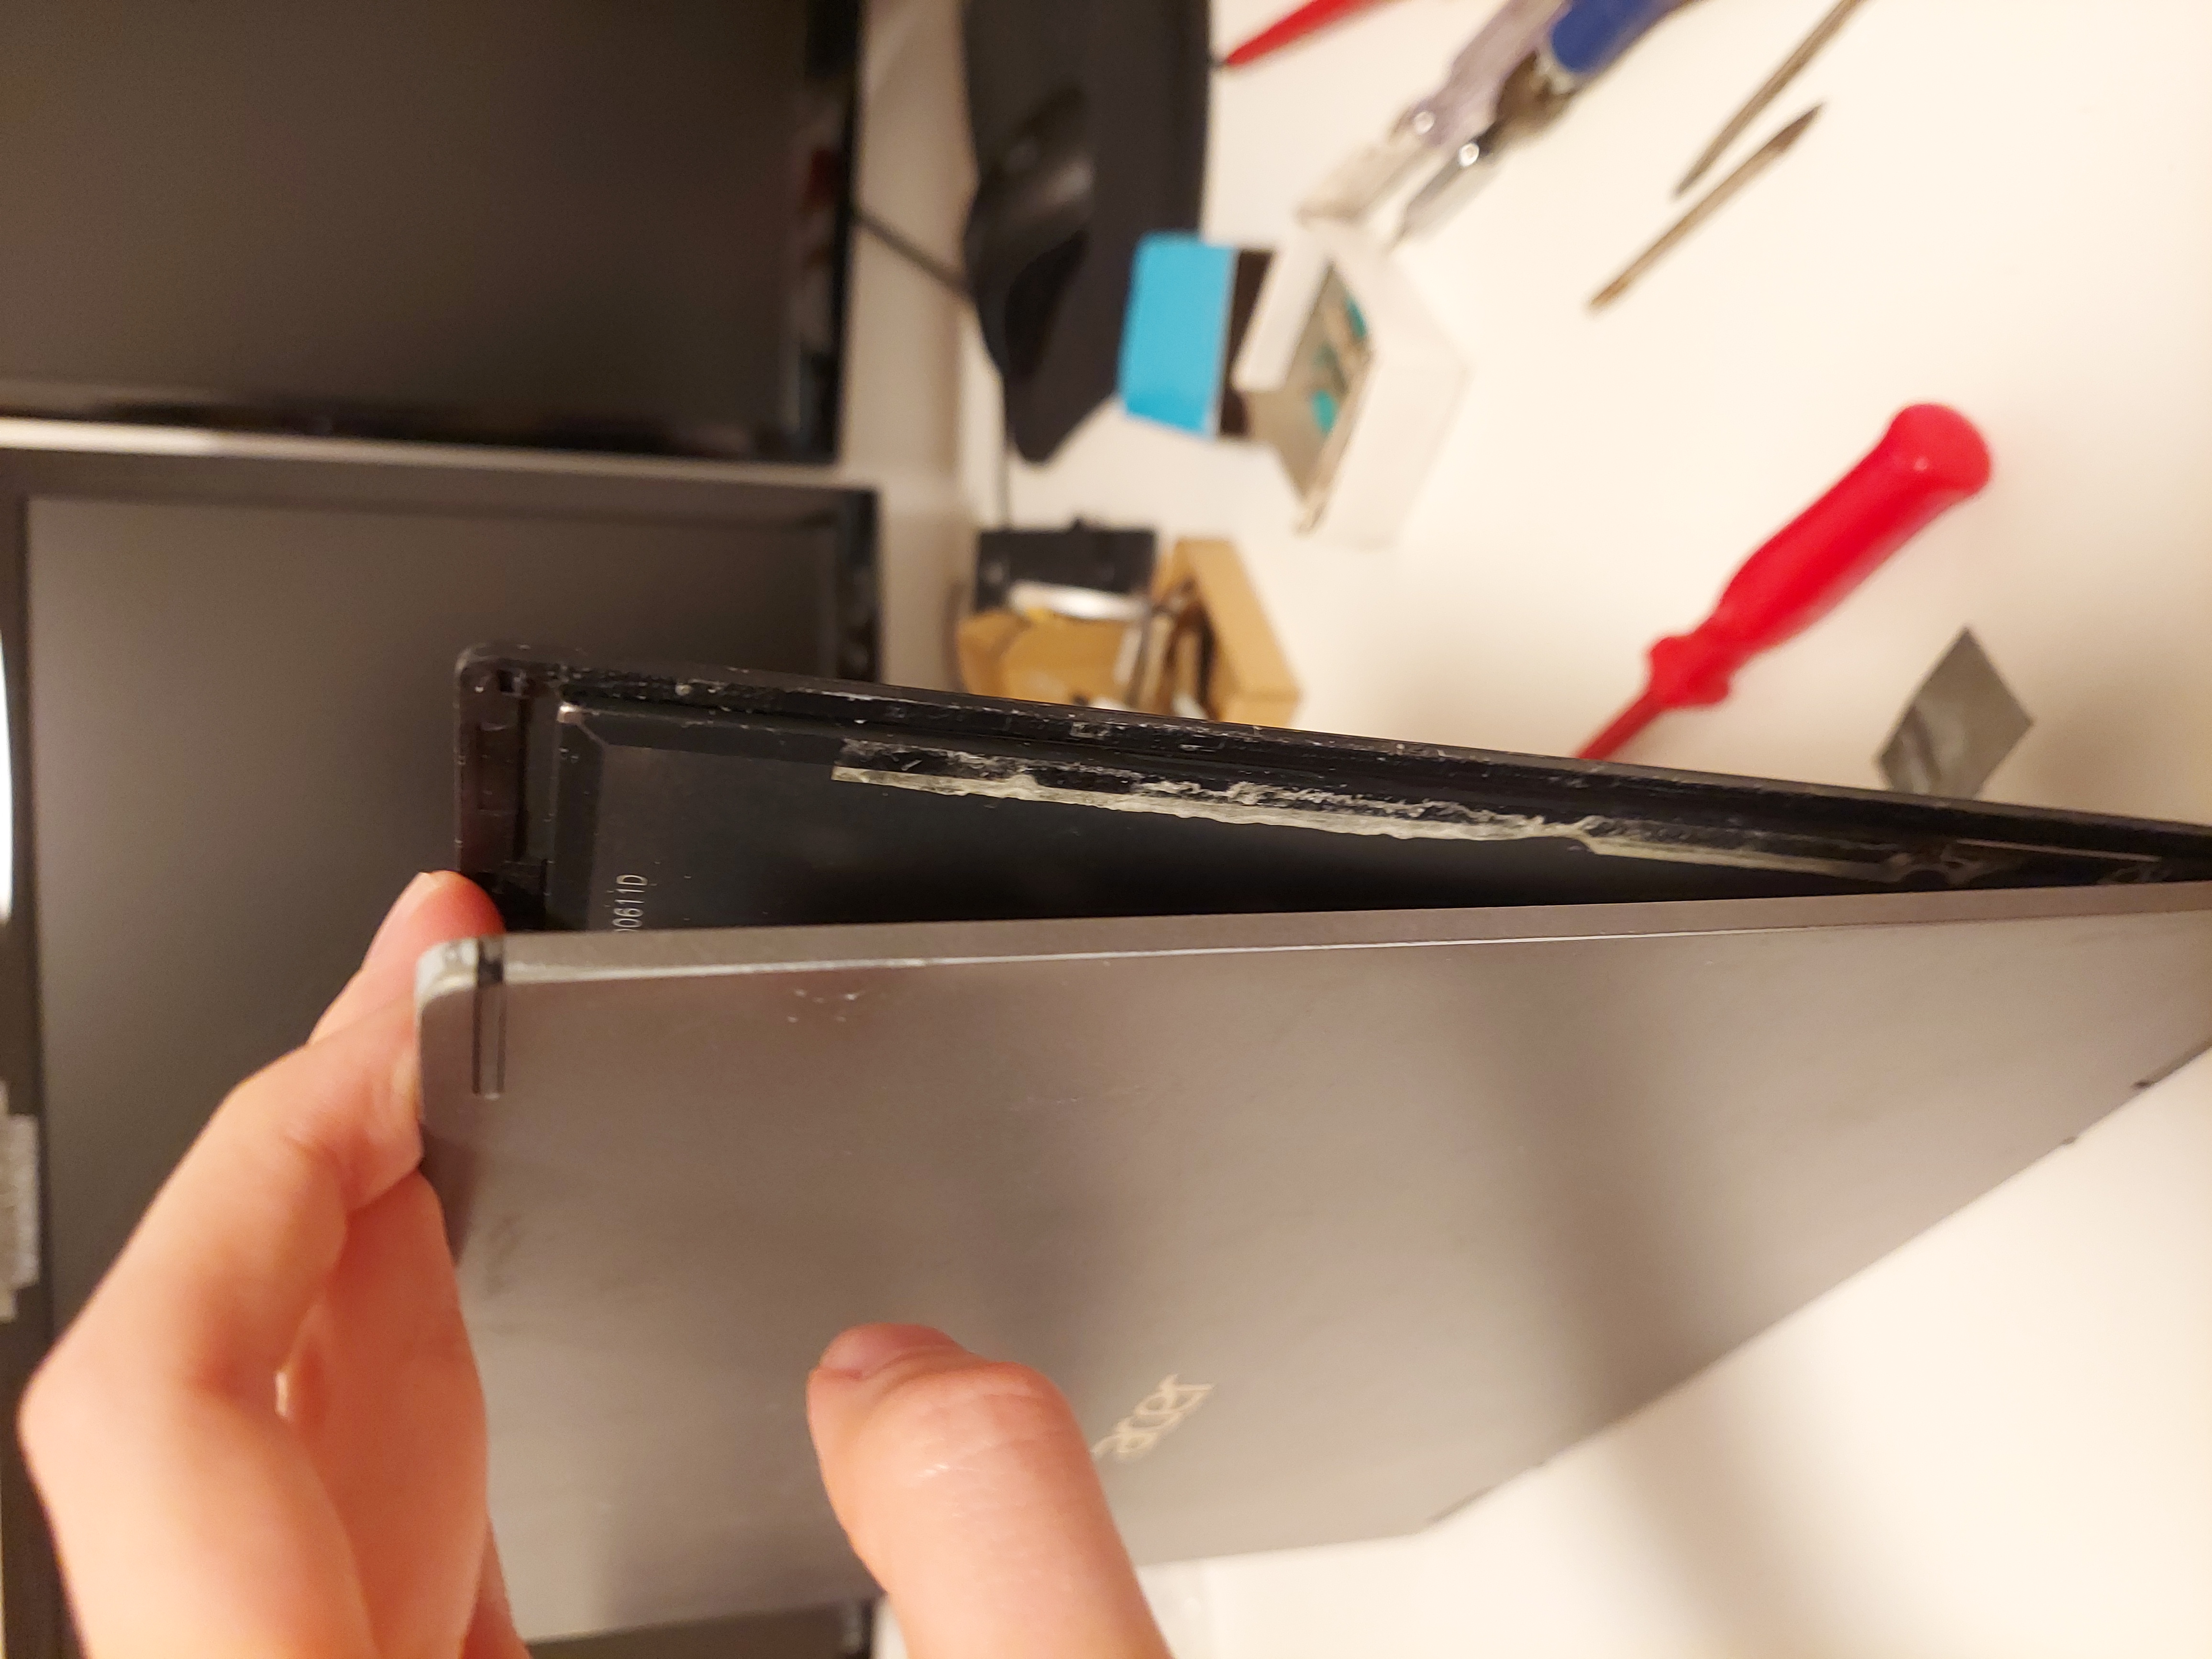
Unfortunately, the constant 360° rotation puts a lot of strain on the cable connecting the screen to the mainboard, as it’s squeezed into the hinge and twisted repeatedly. After about three years of heavy use, the screen started flickering occasionally, which suggested the cable was damaged. Since the issue was rare at first, I managed for a while, until one day the screen stayed black when I turned the laptop on: It was completely broken. The laptop itself still worked and could be used with an external monitor via HDMI.
Sadly, the warranty had just expired, and sending it to a repair shop would have been expensive and left me without a laptop for a long time. So, I decided to tackle the problem myself, even though I had little experience repairing electronics.
Replacing the Cable
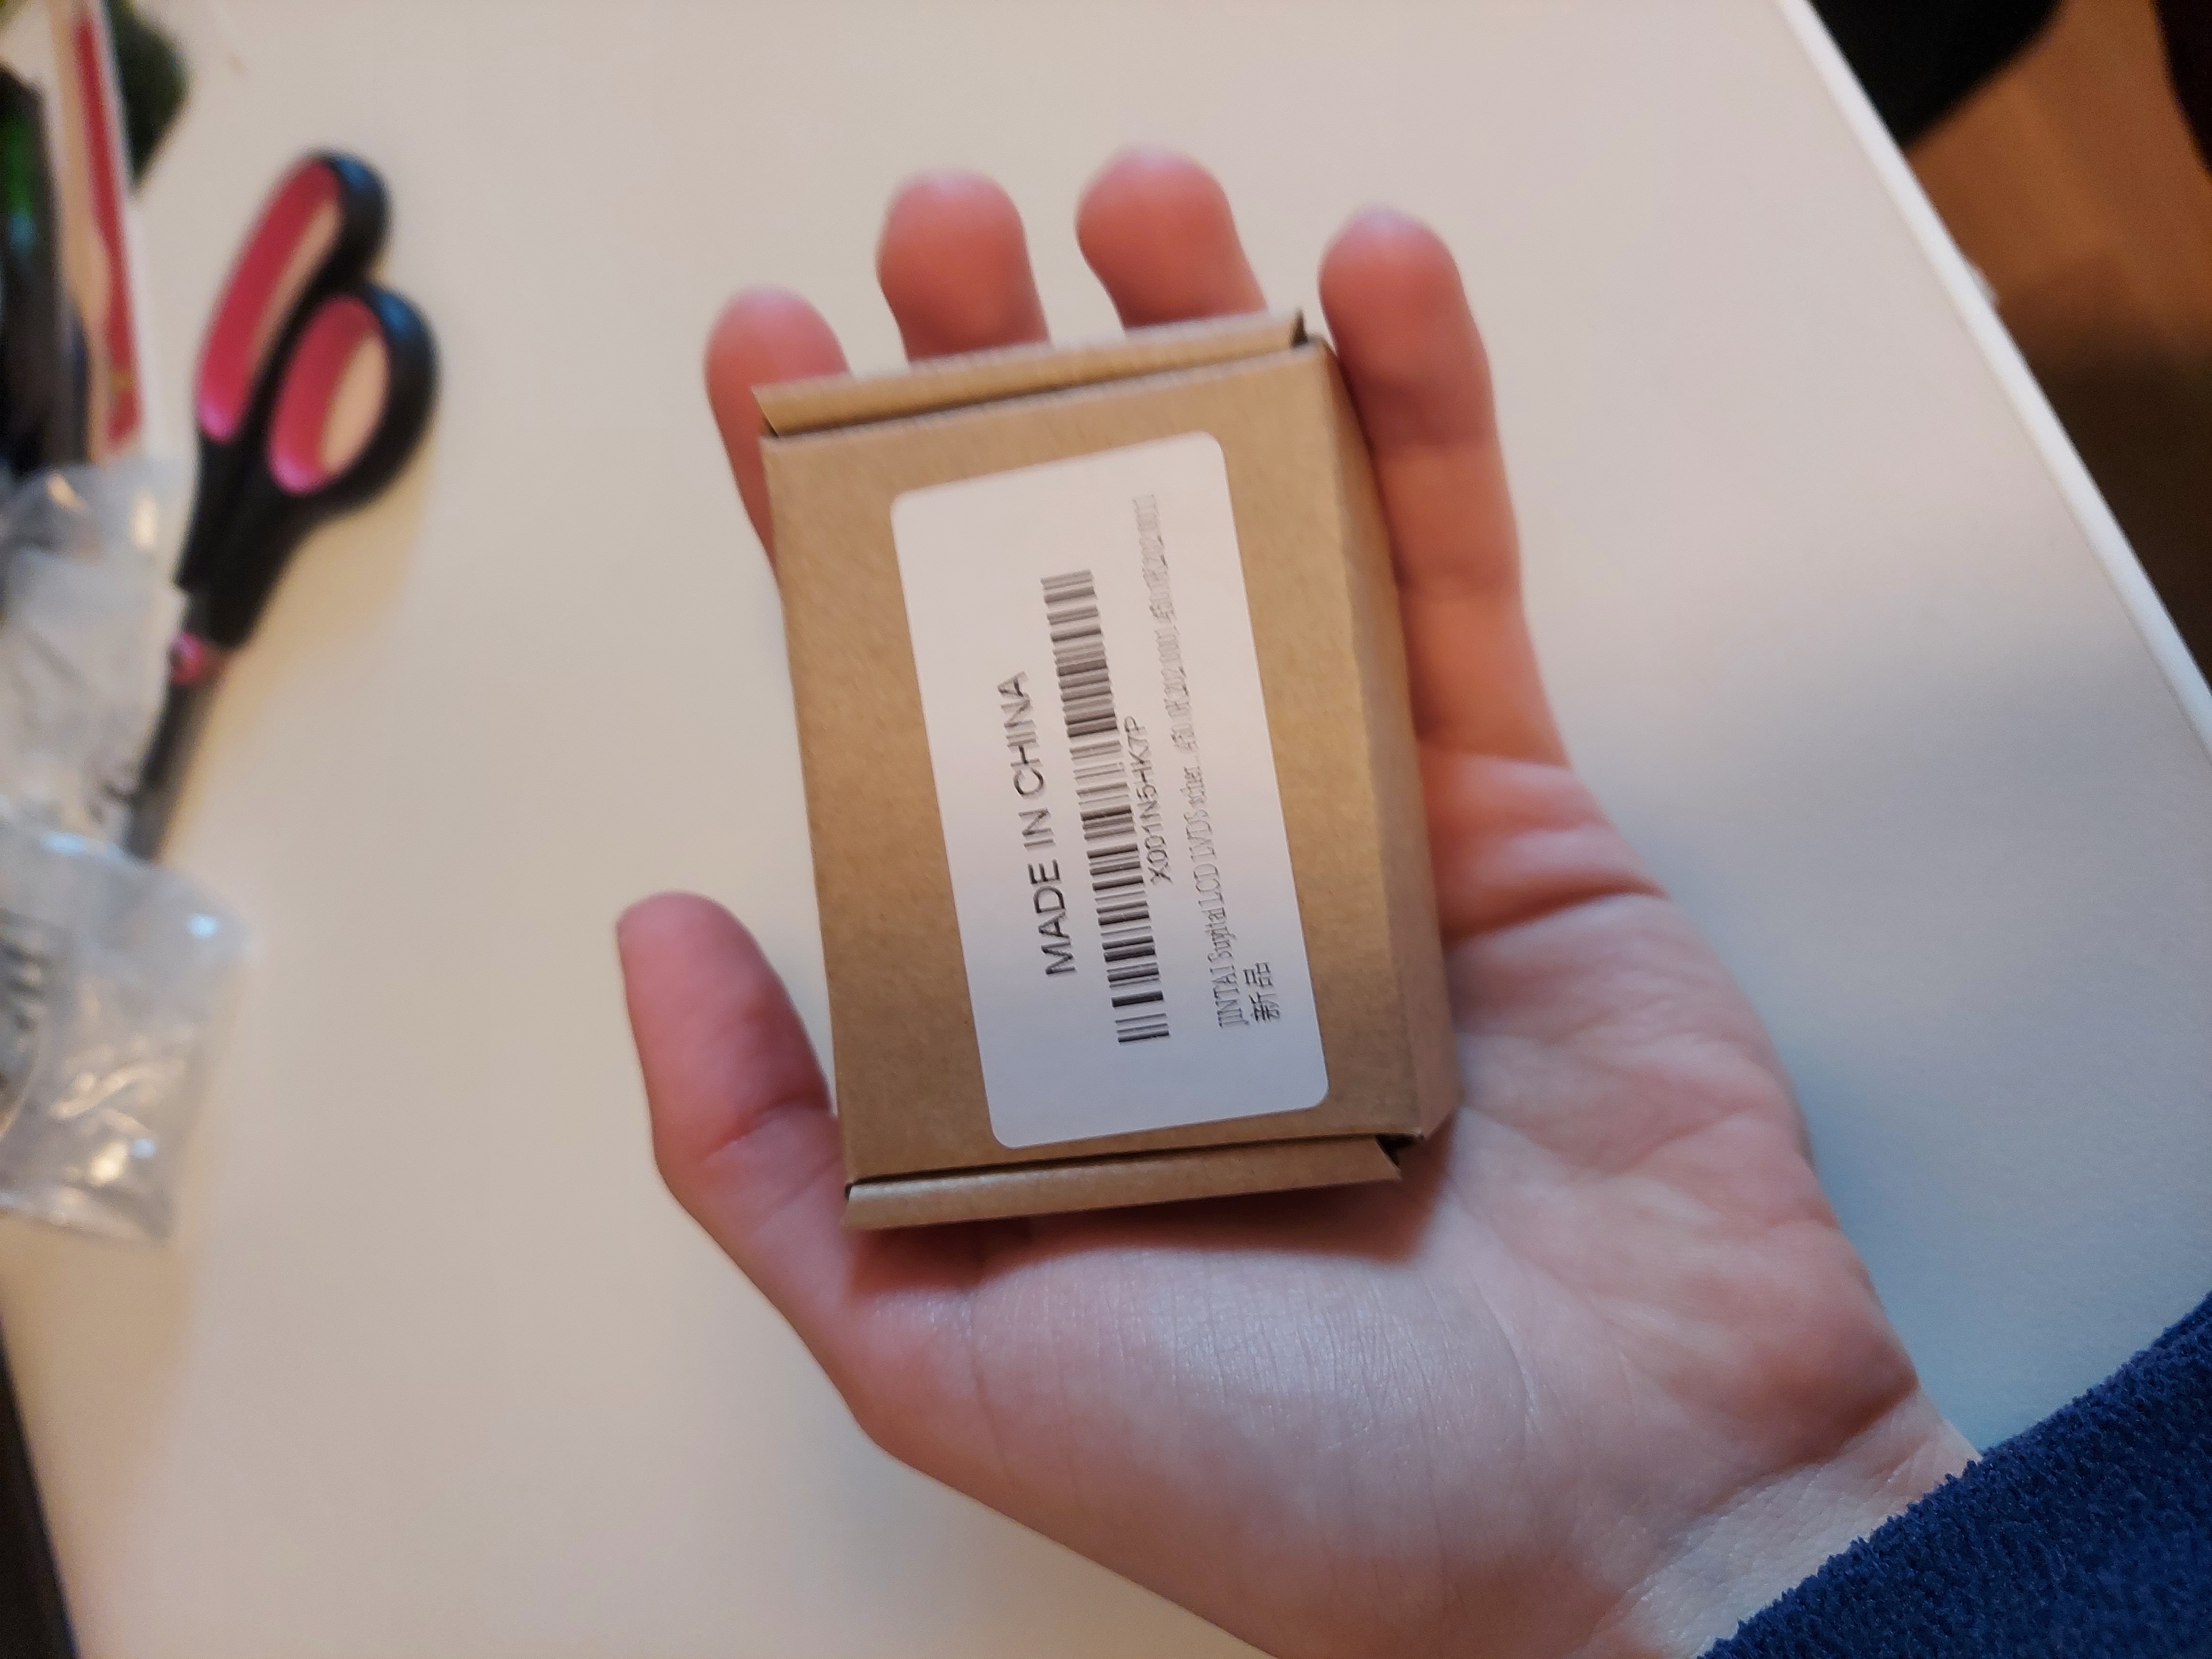
After some research, I suspected the screen was blank because the cable was now completely broken. I ordered a new one to replace it.
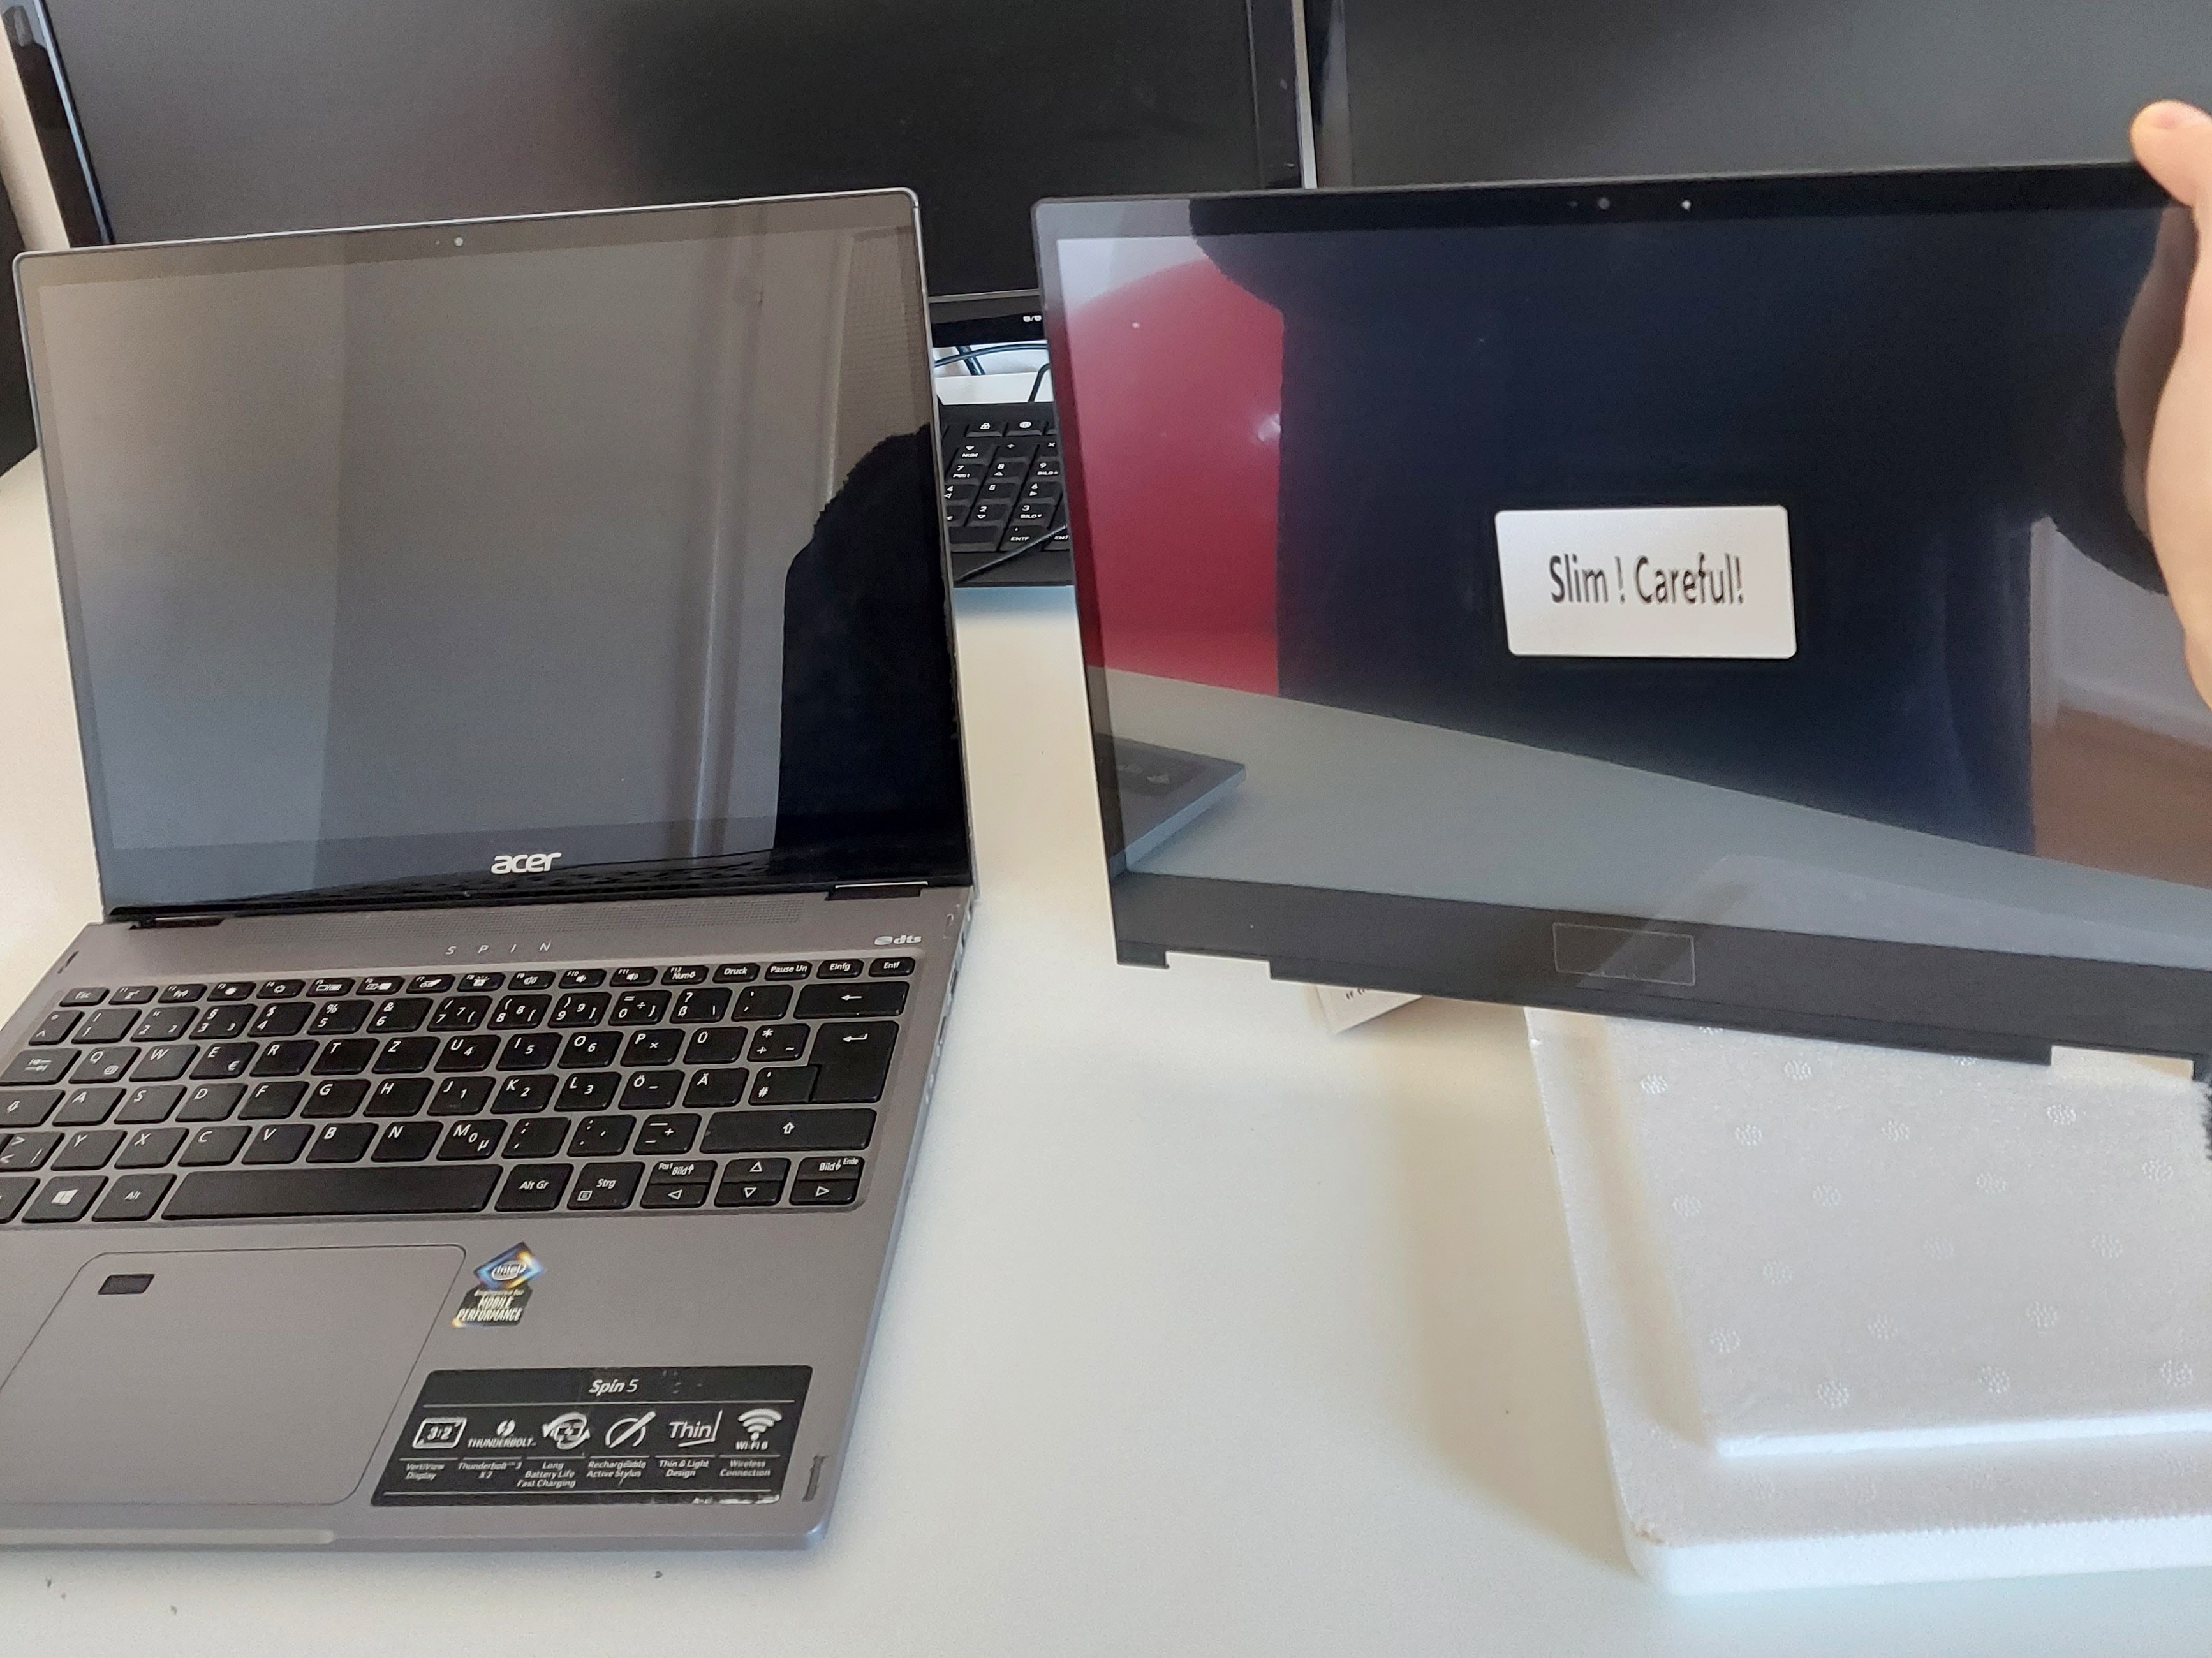
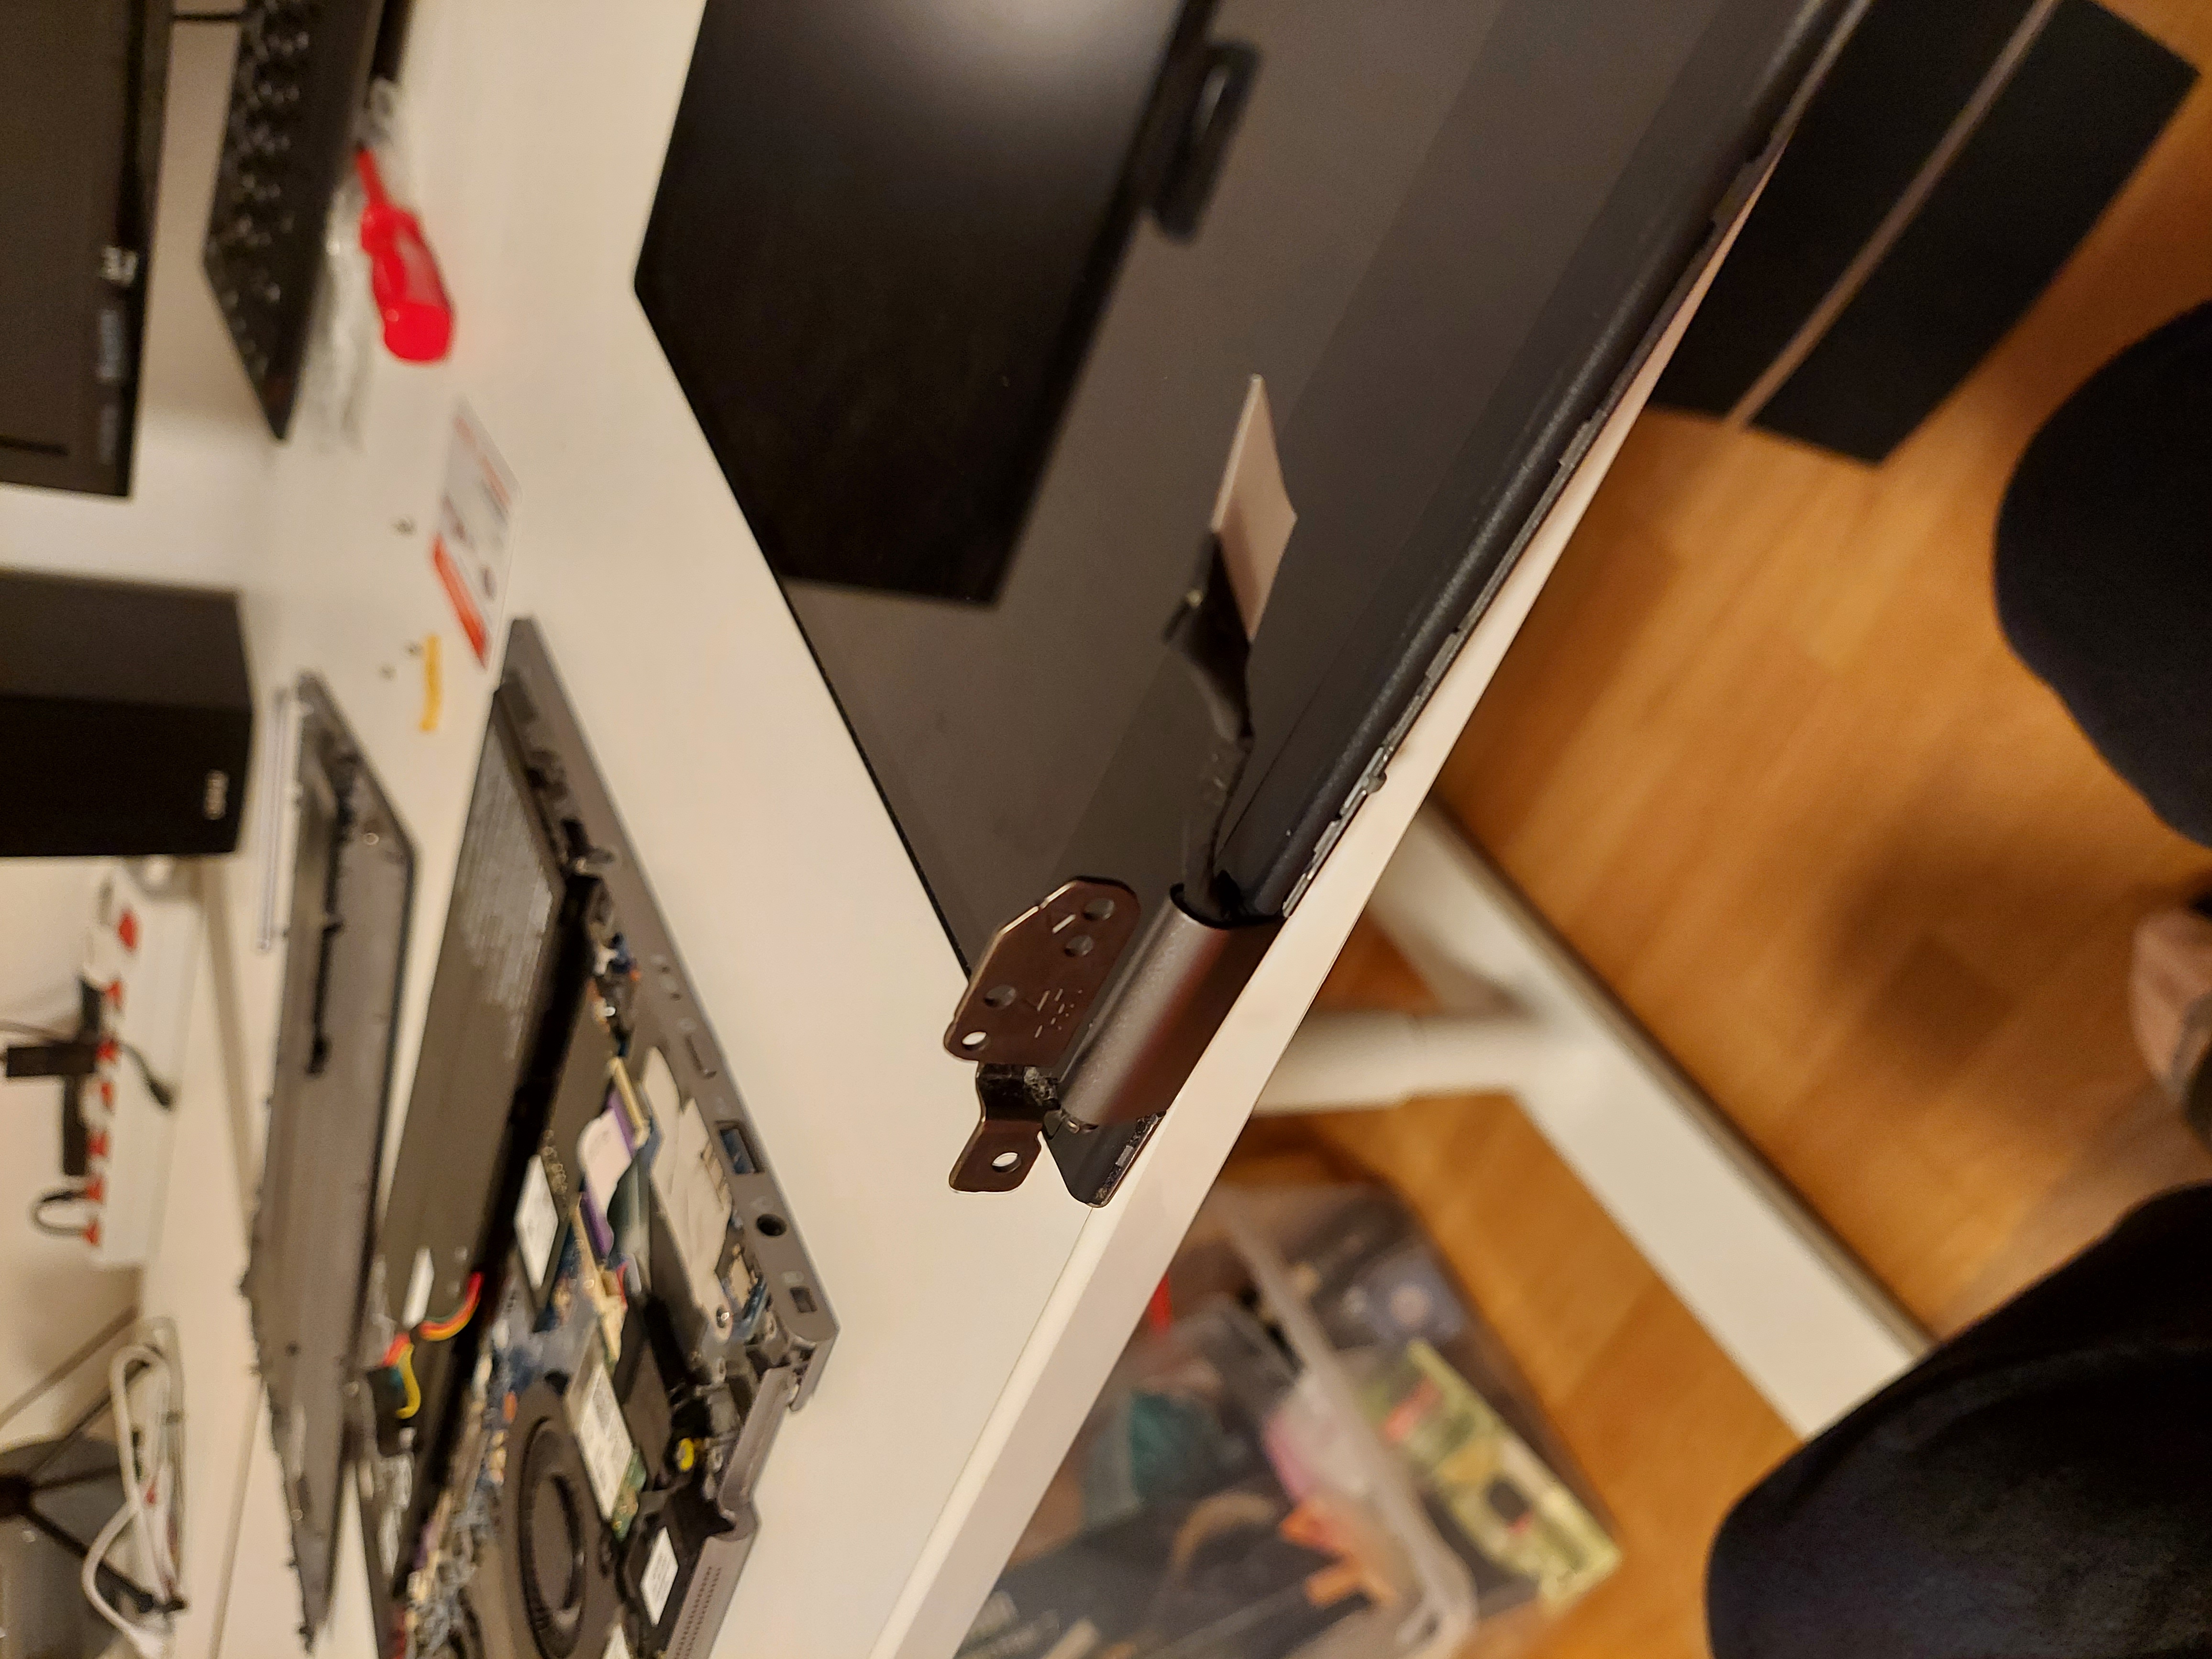
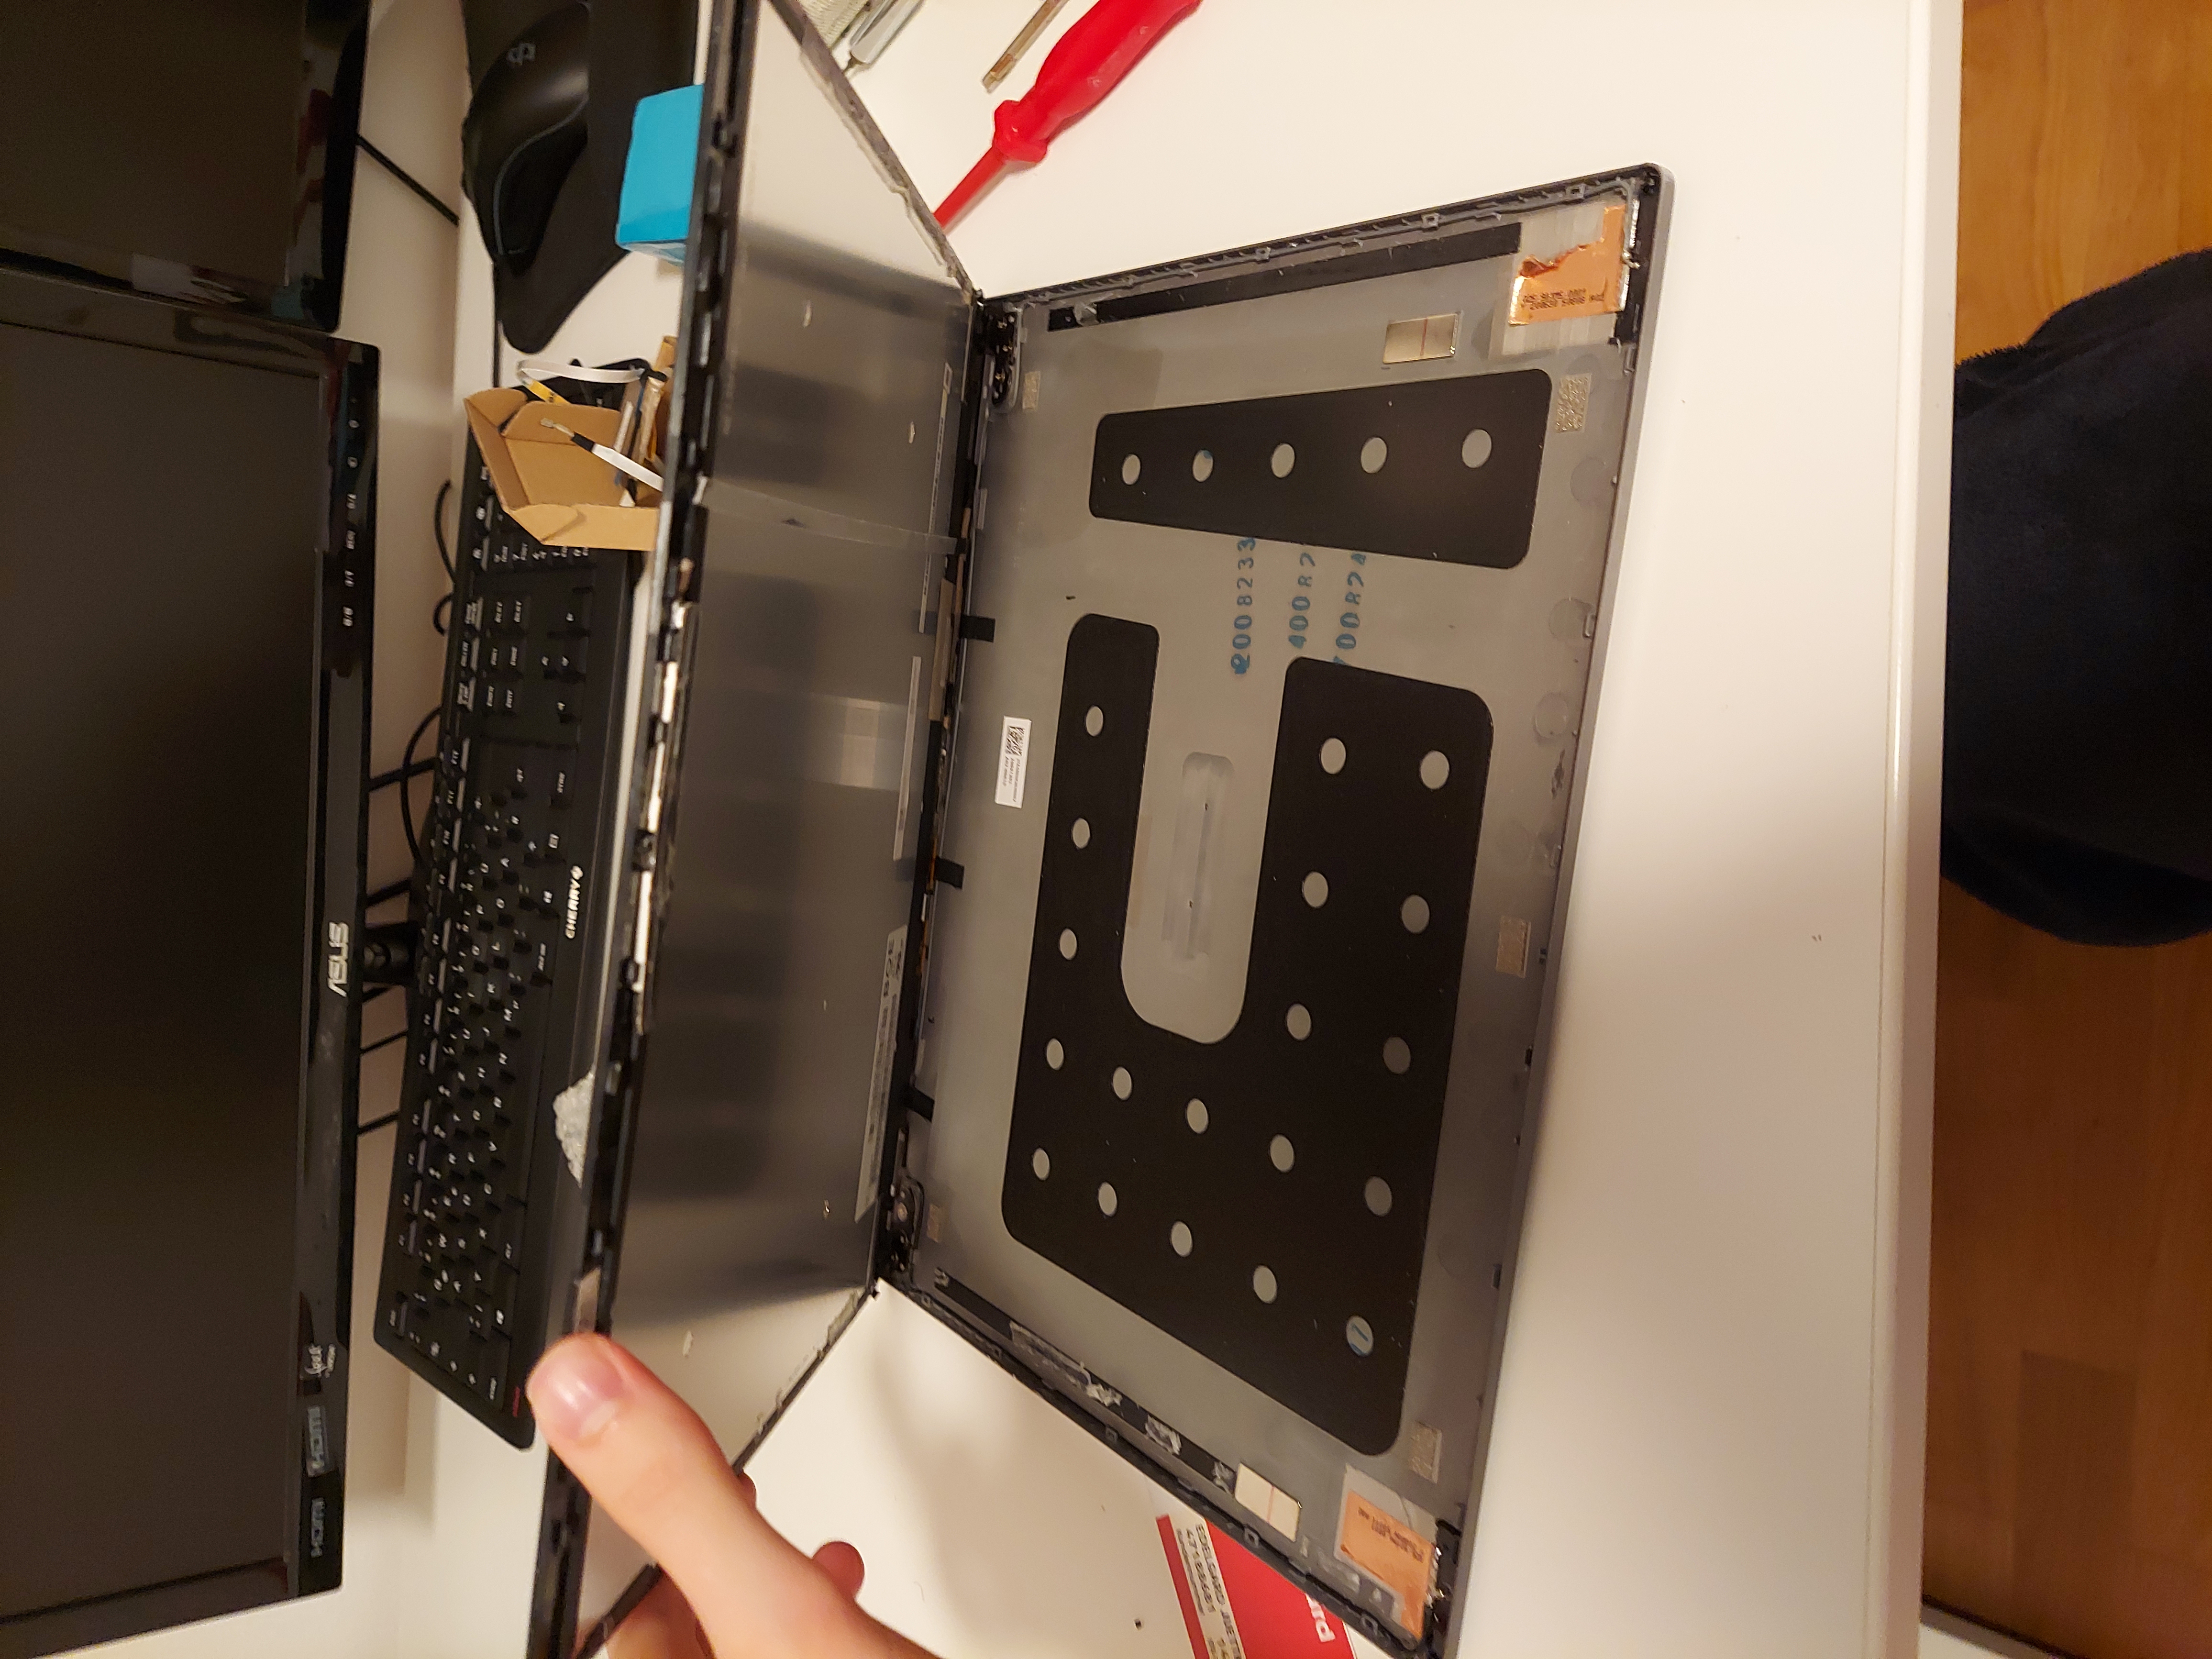
To replace the cable, you need to unscrew the hinges of the laptop screen and separate the screen and plastic back cover from the laptop. The old cable then hangs out of the disassembled screen.
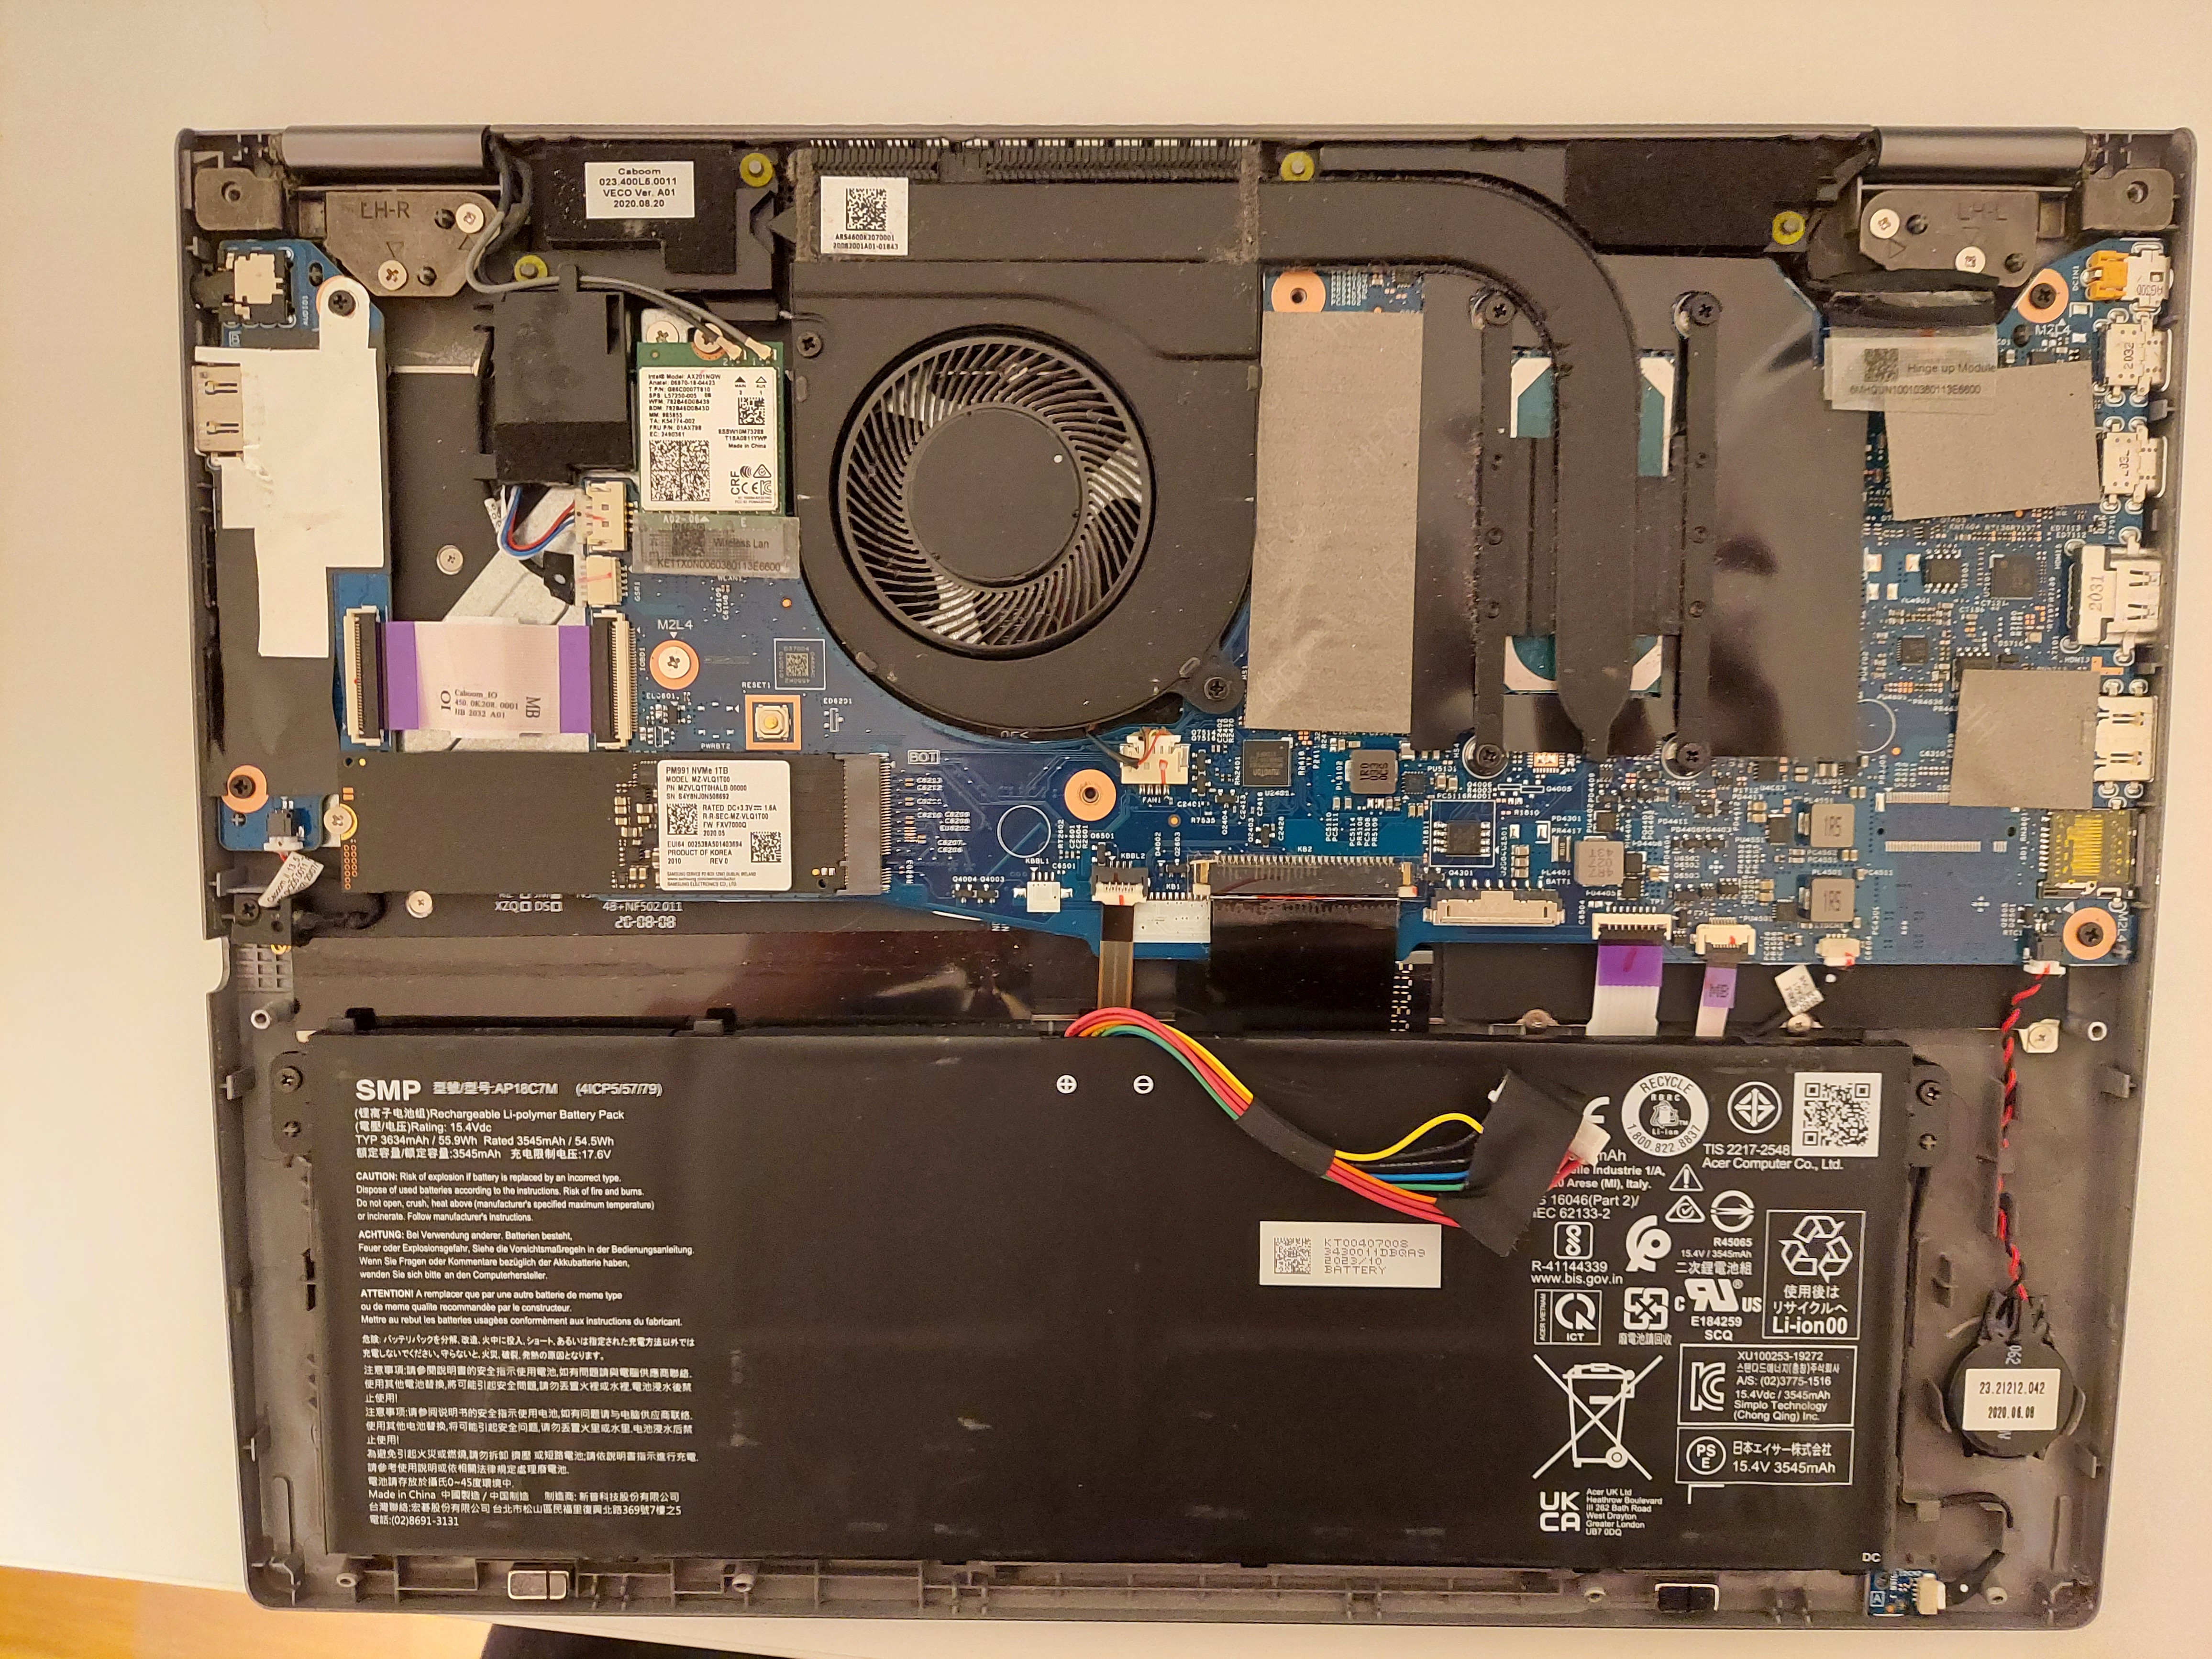
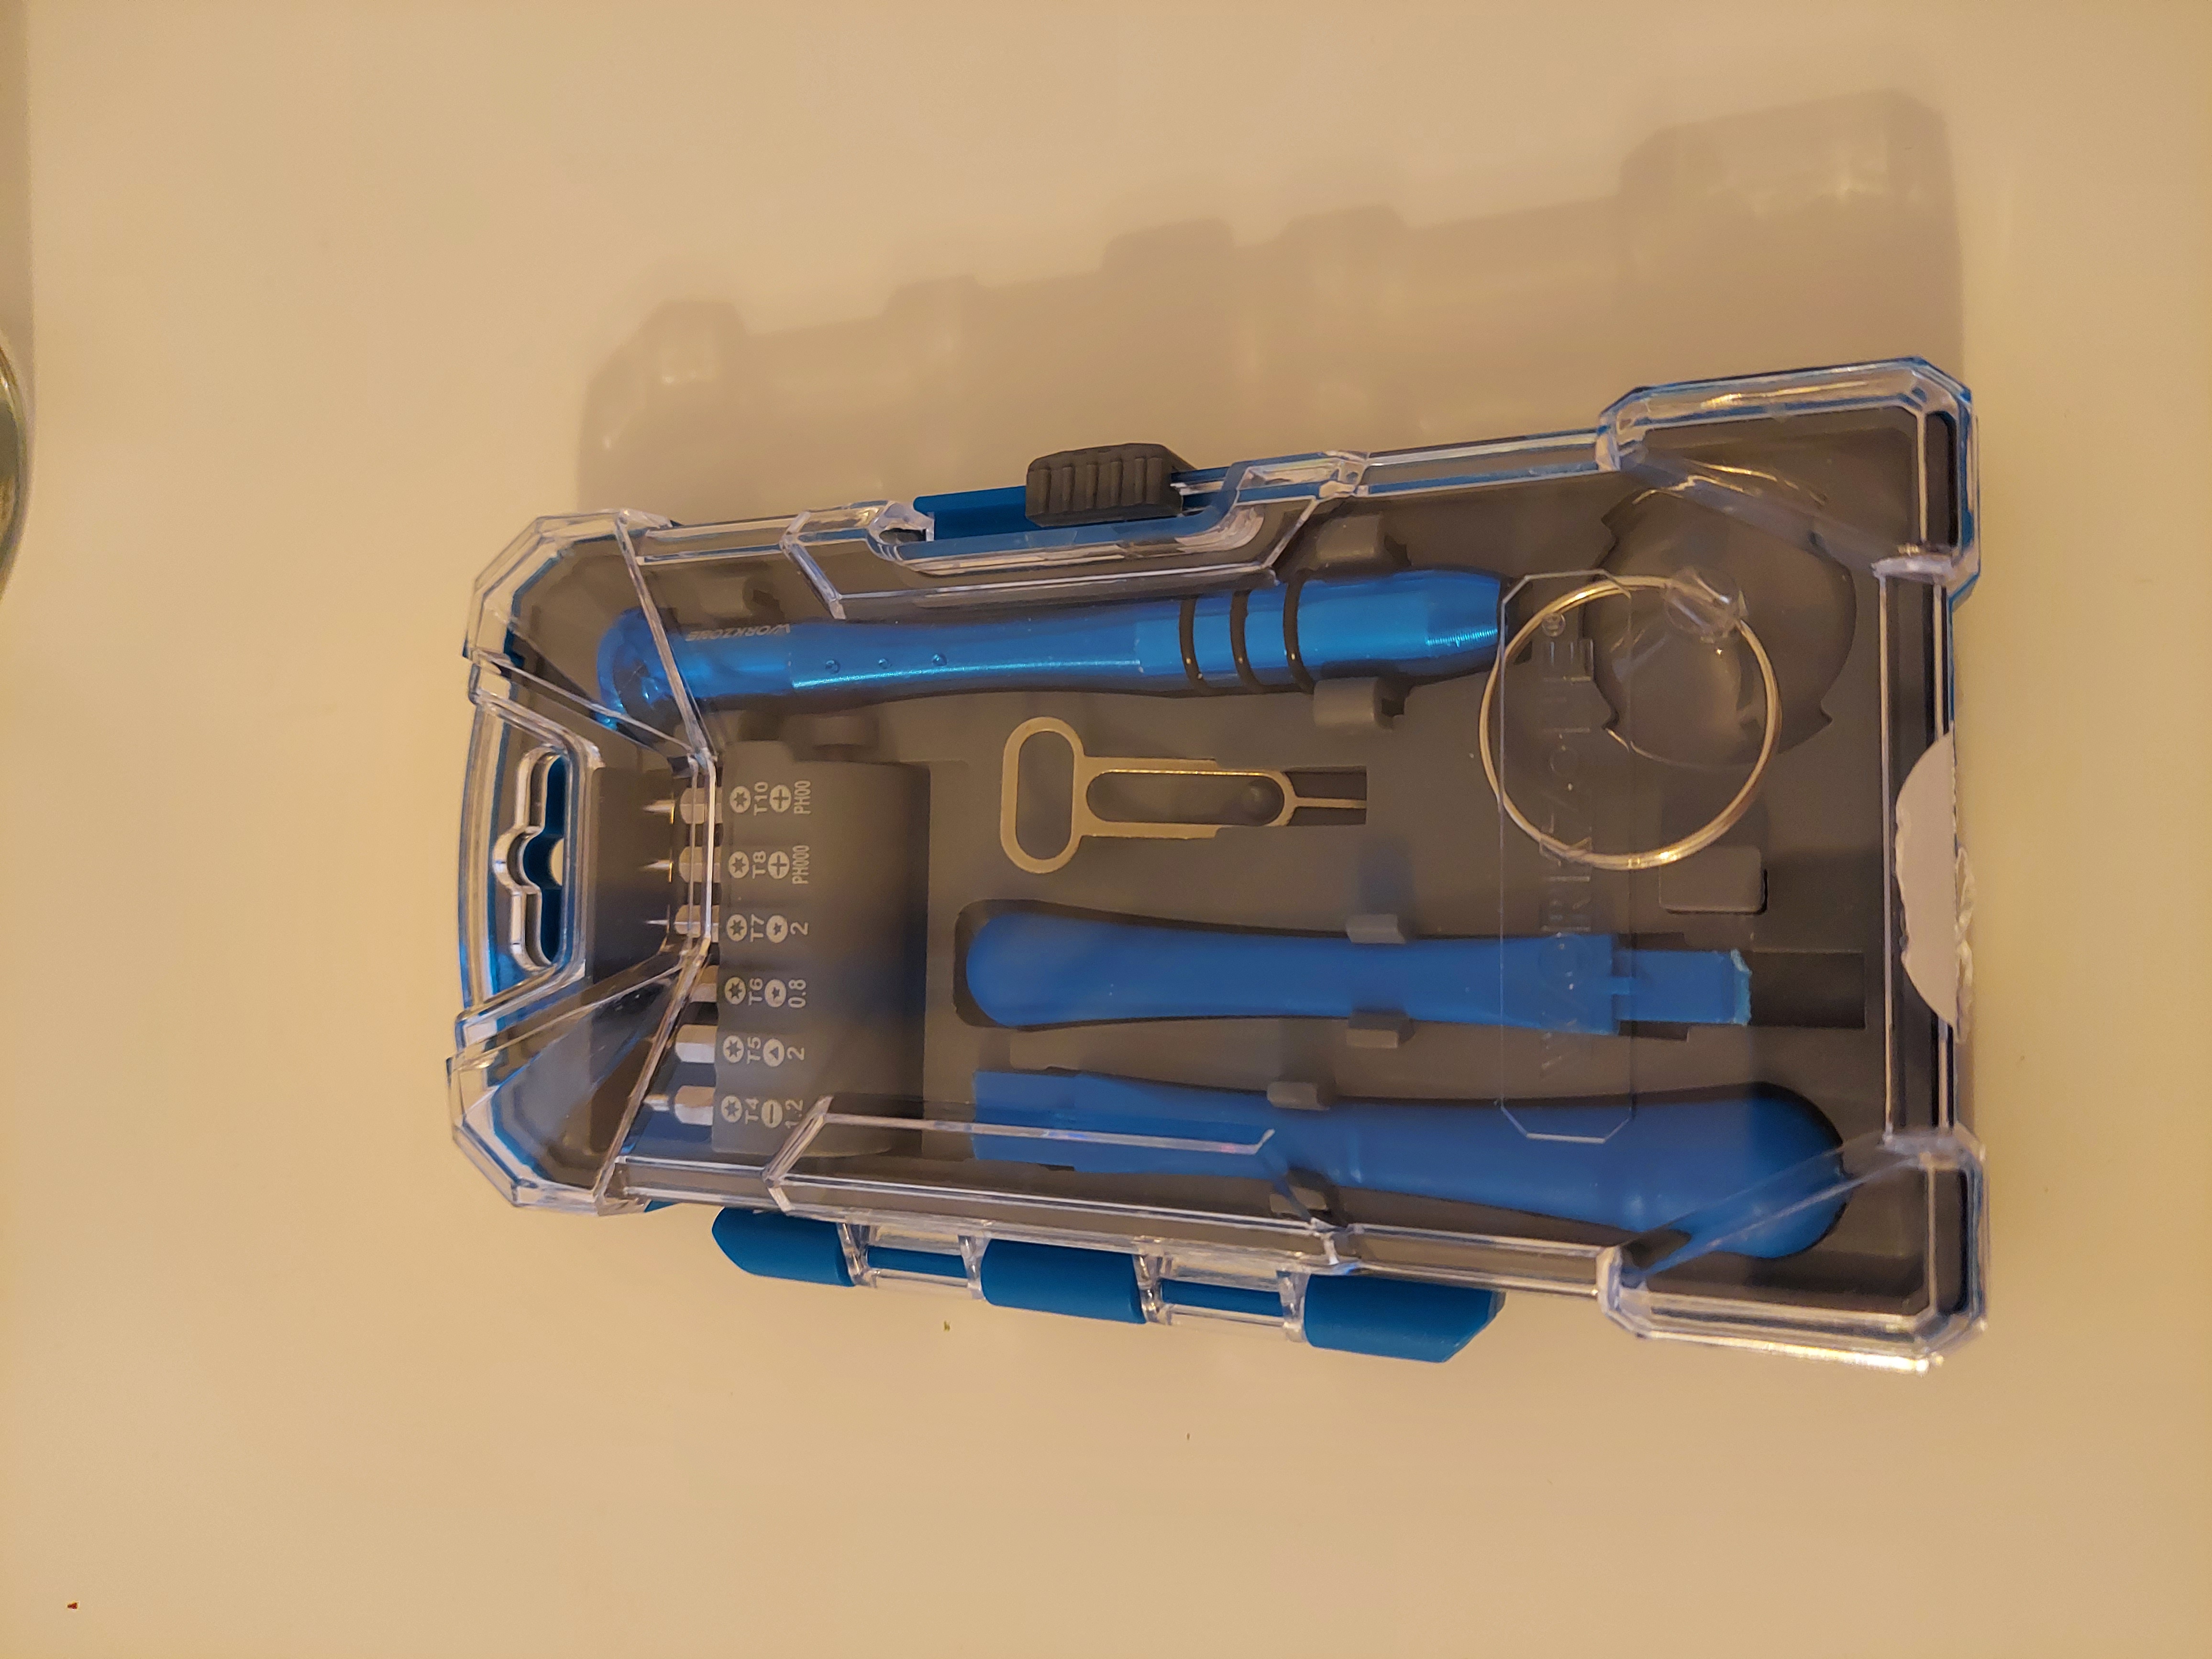
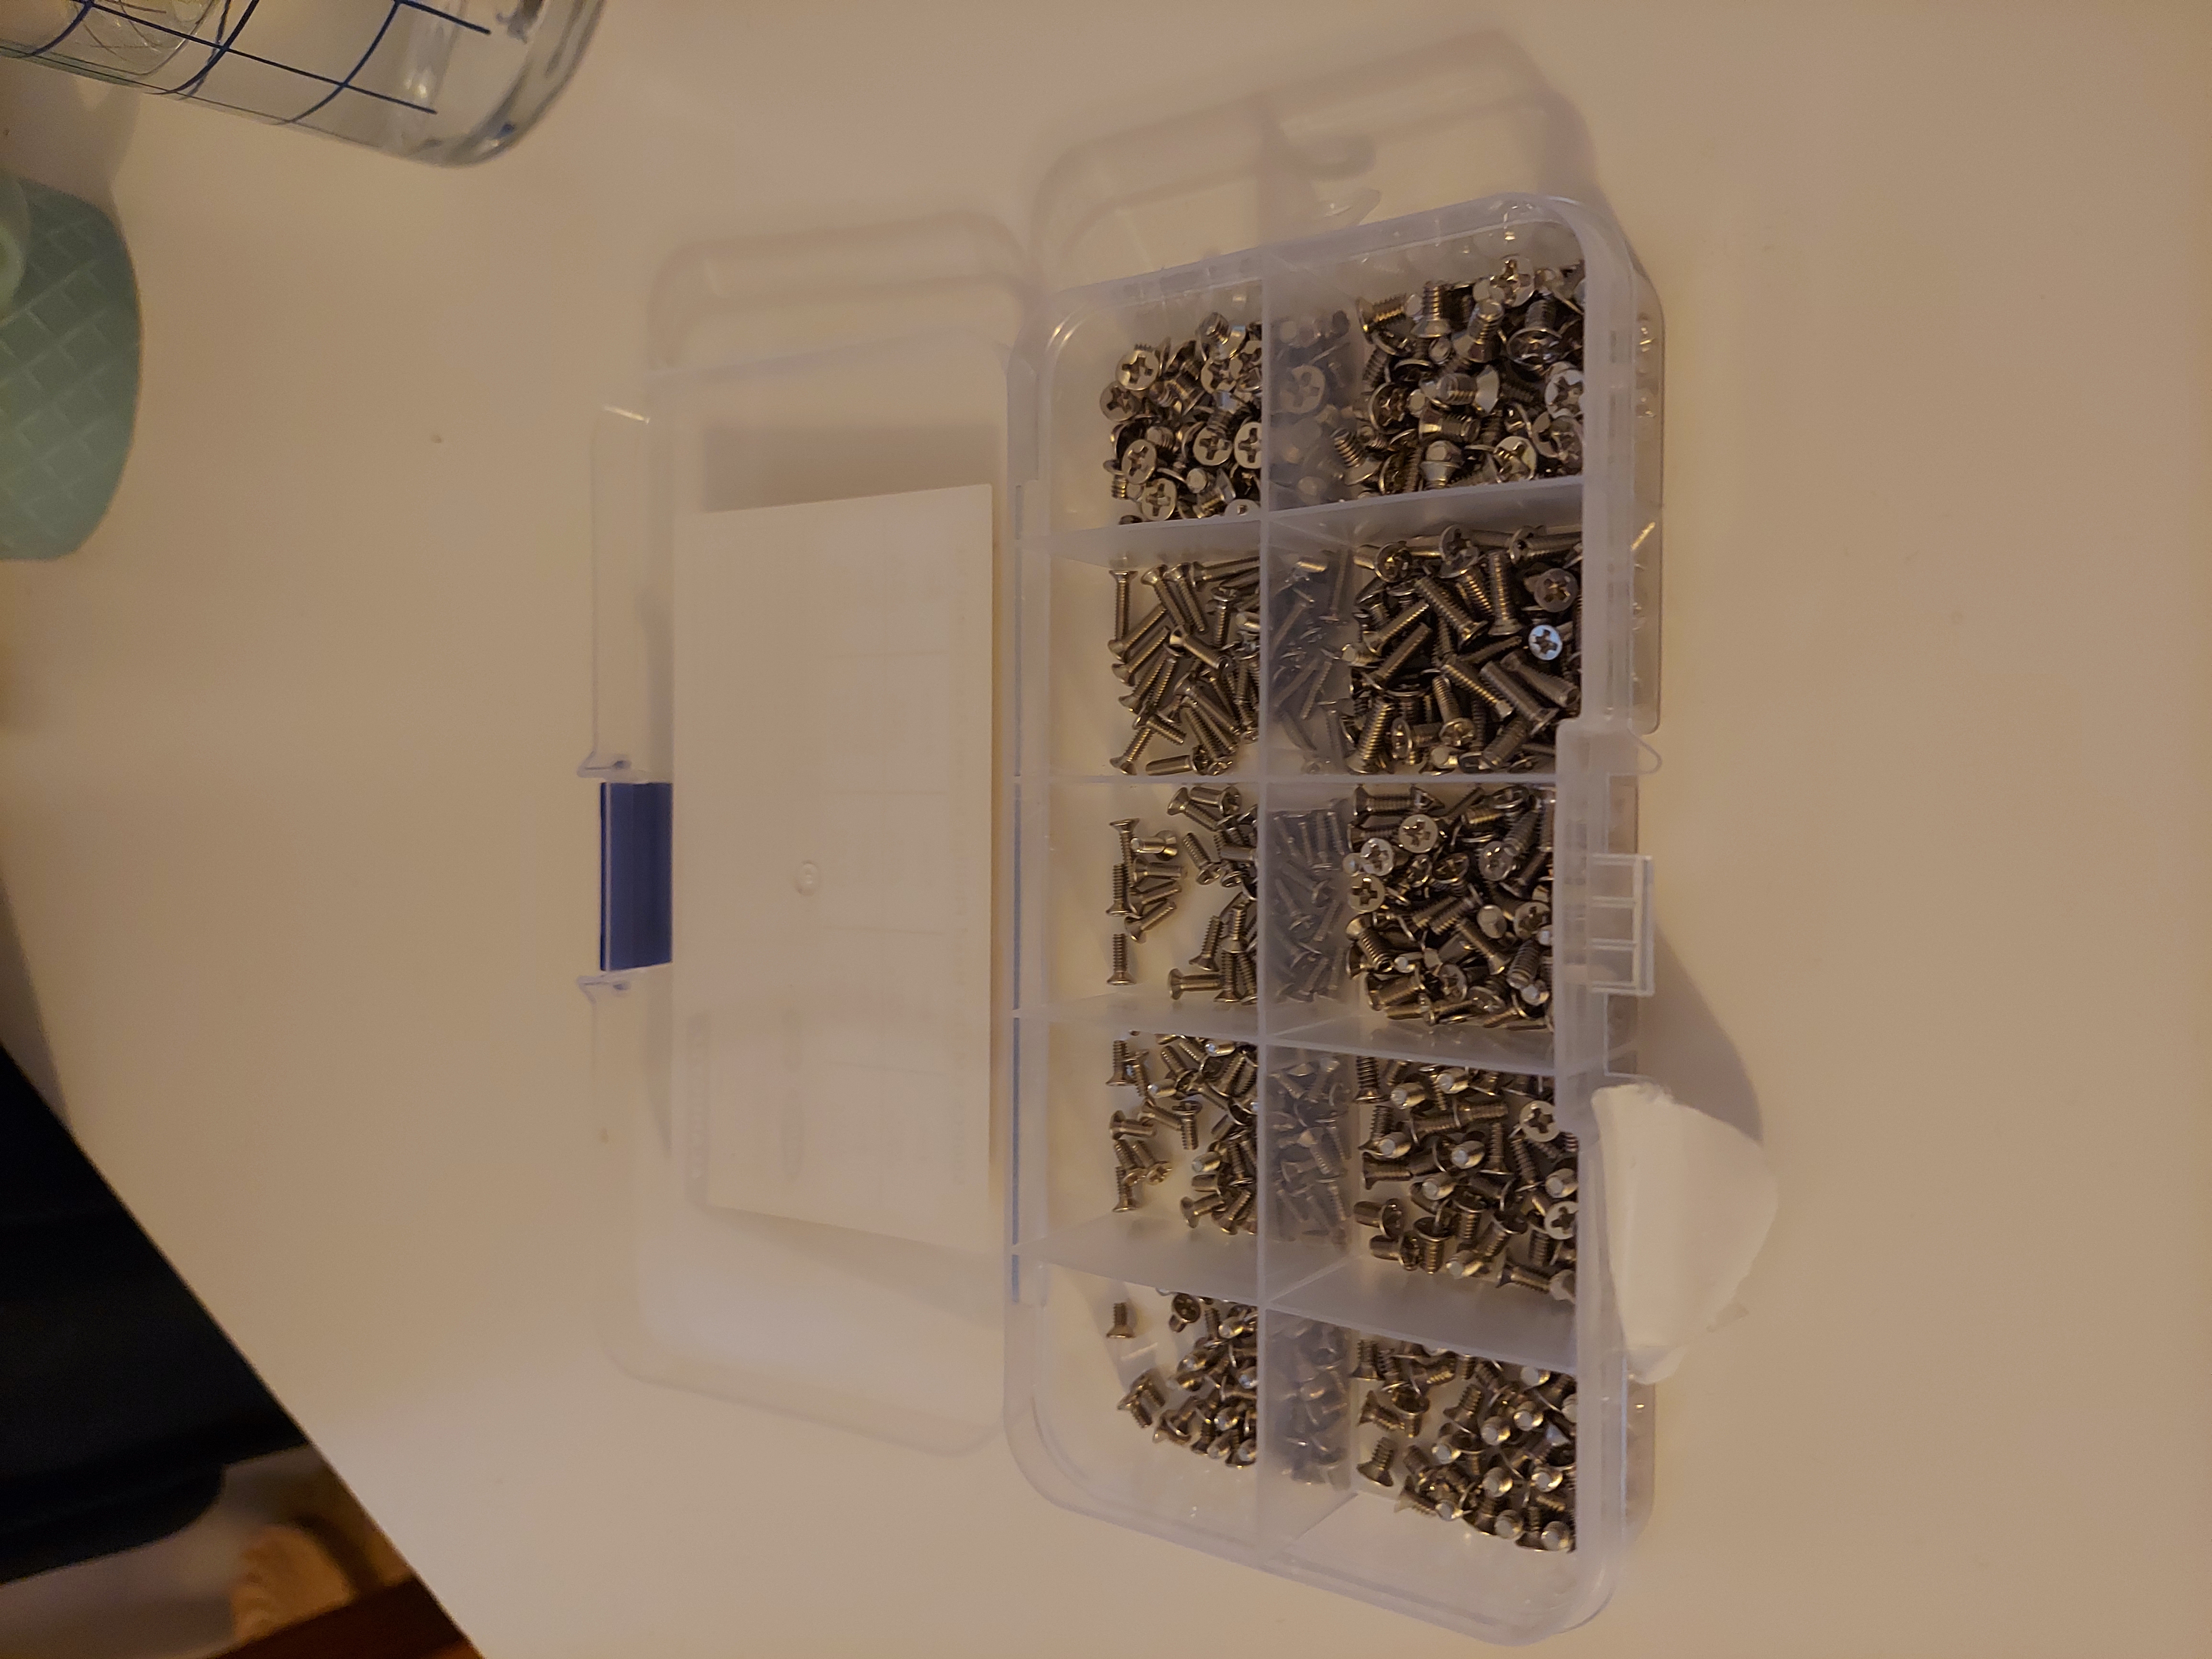
To actually swap the cable, you have to separate the screen from the back cover to reach the connectors. This turned out to be tricky and risky, since you have to pry the screen out of the plastic back without damaging the camera and Wi-Fi antenna, which are also glued to the back. There are small plastic tools, similar to spatulas, for opening electronics, like the ones in this set:
But after some trial and error, I found that an old Otto customer card worked best to separate the back cover and screen.
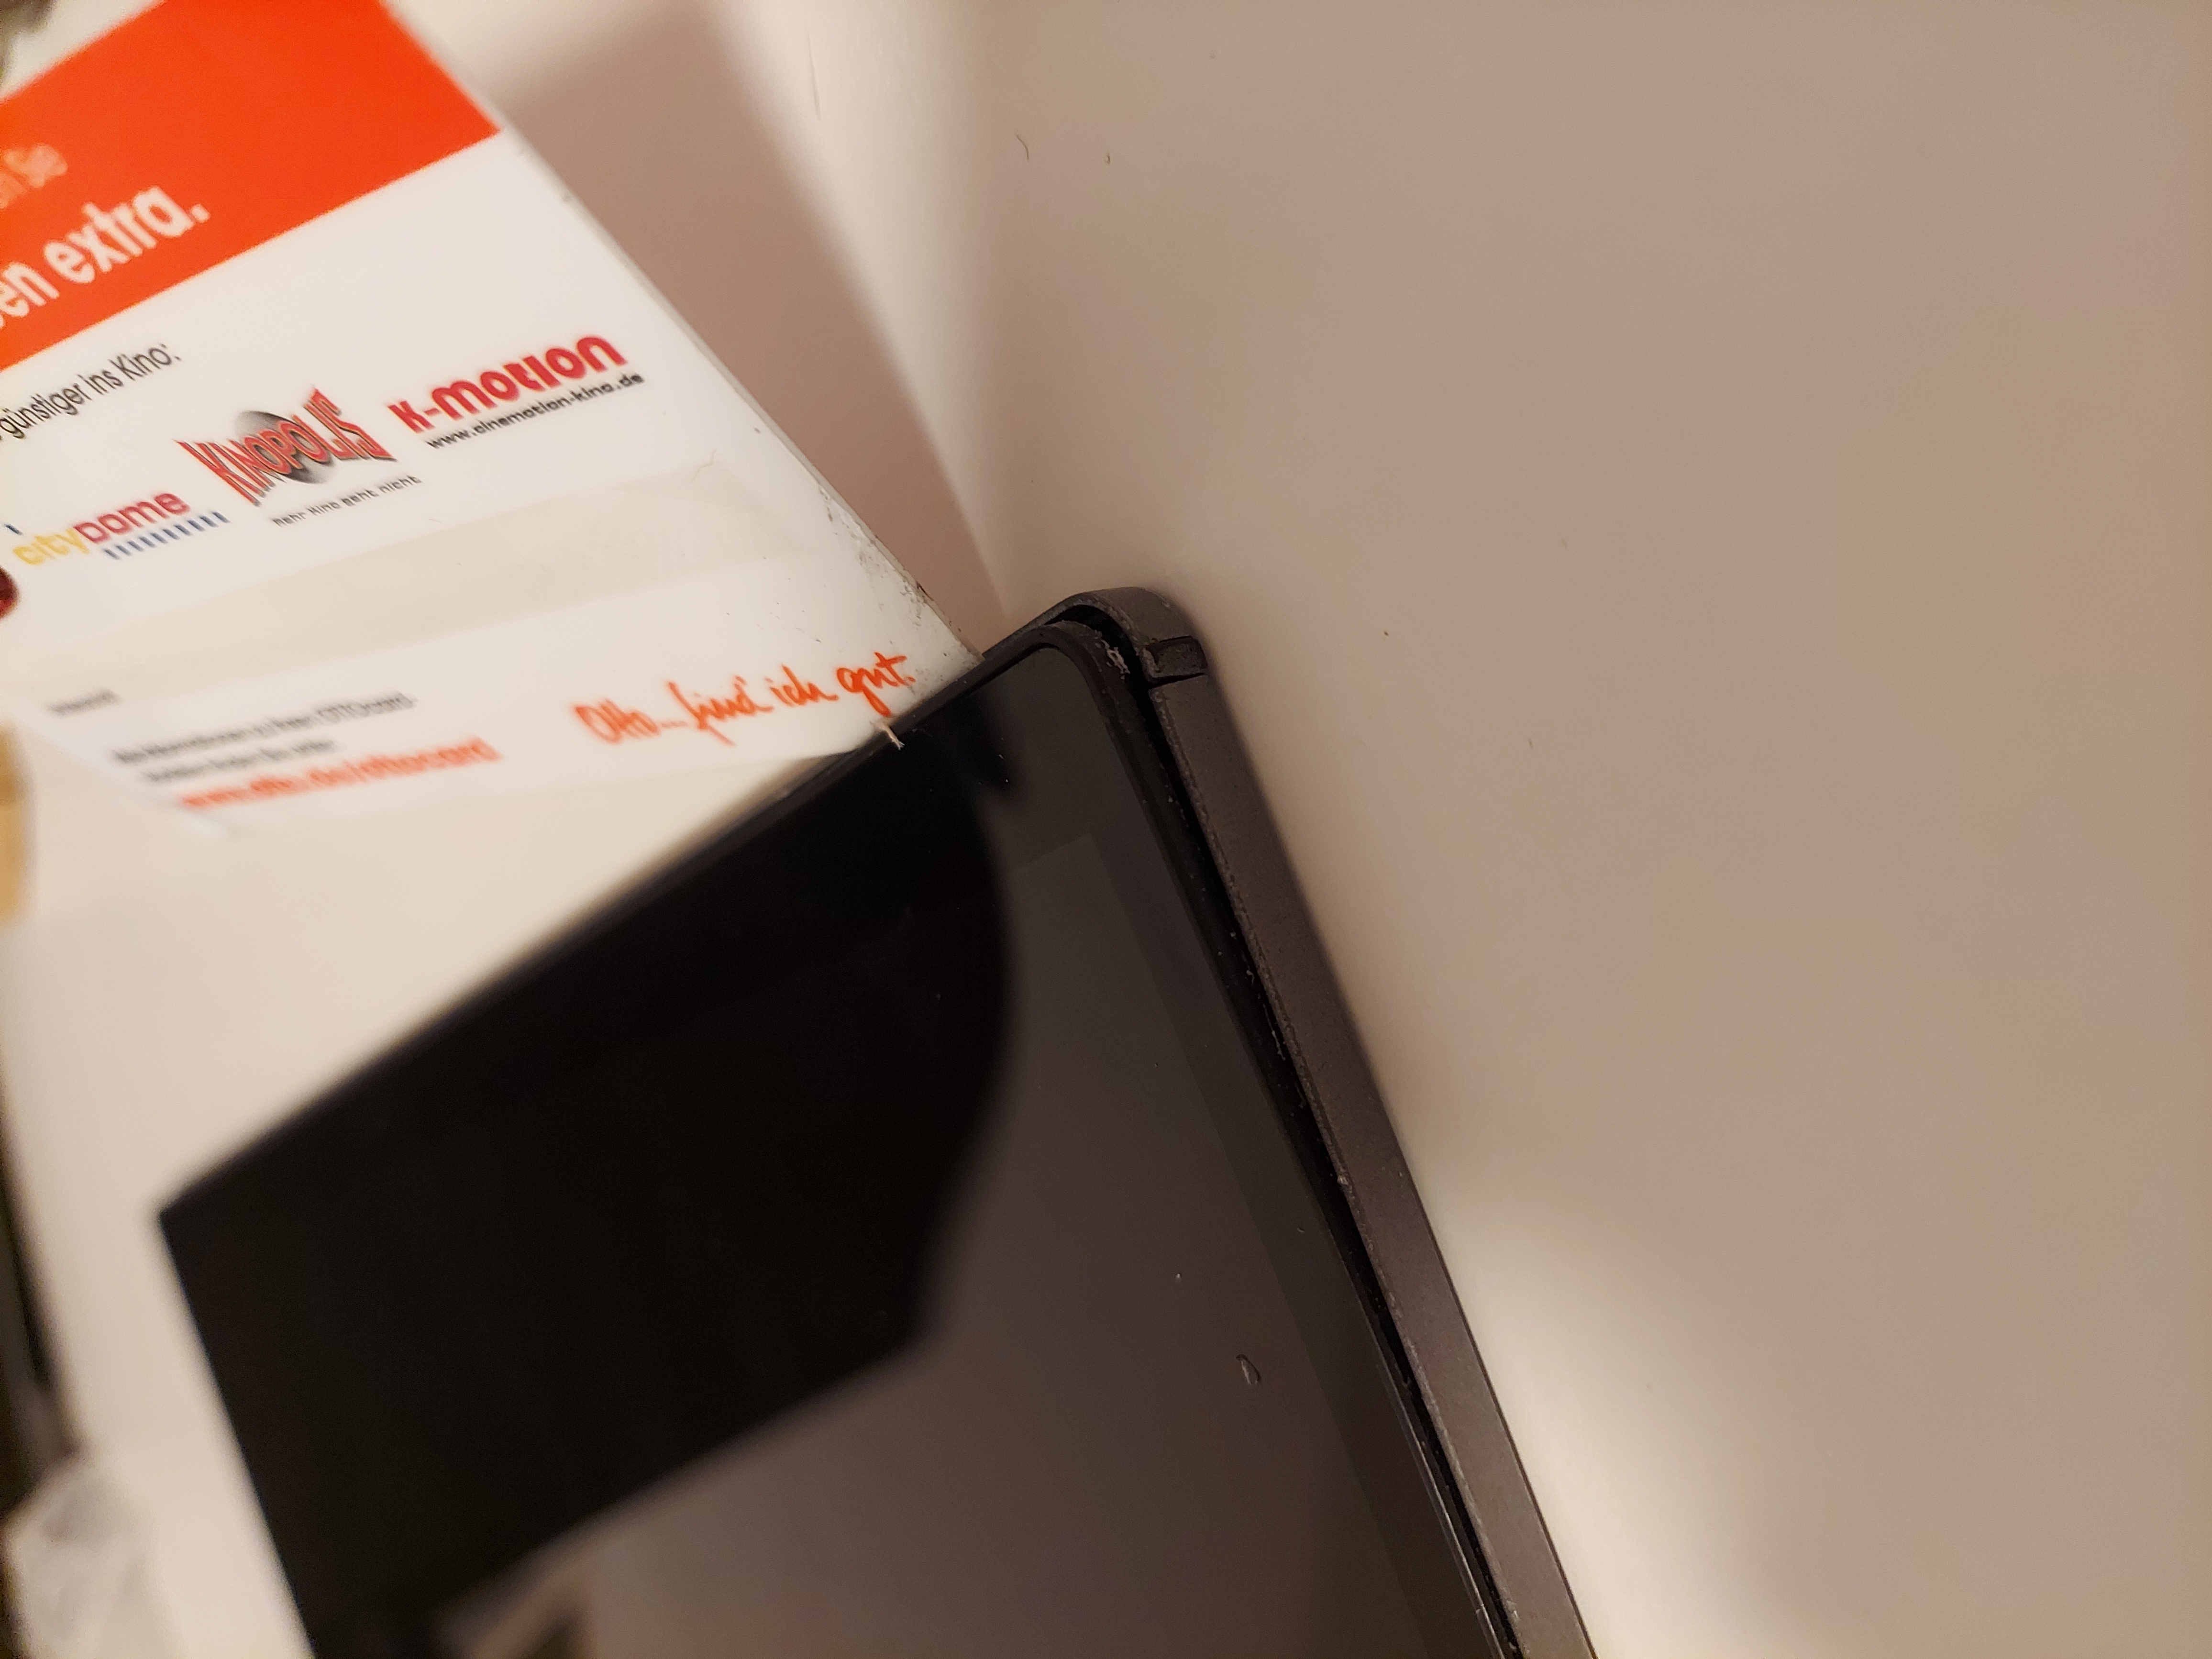
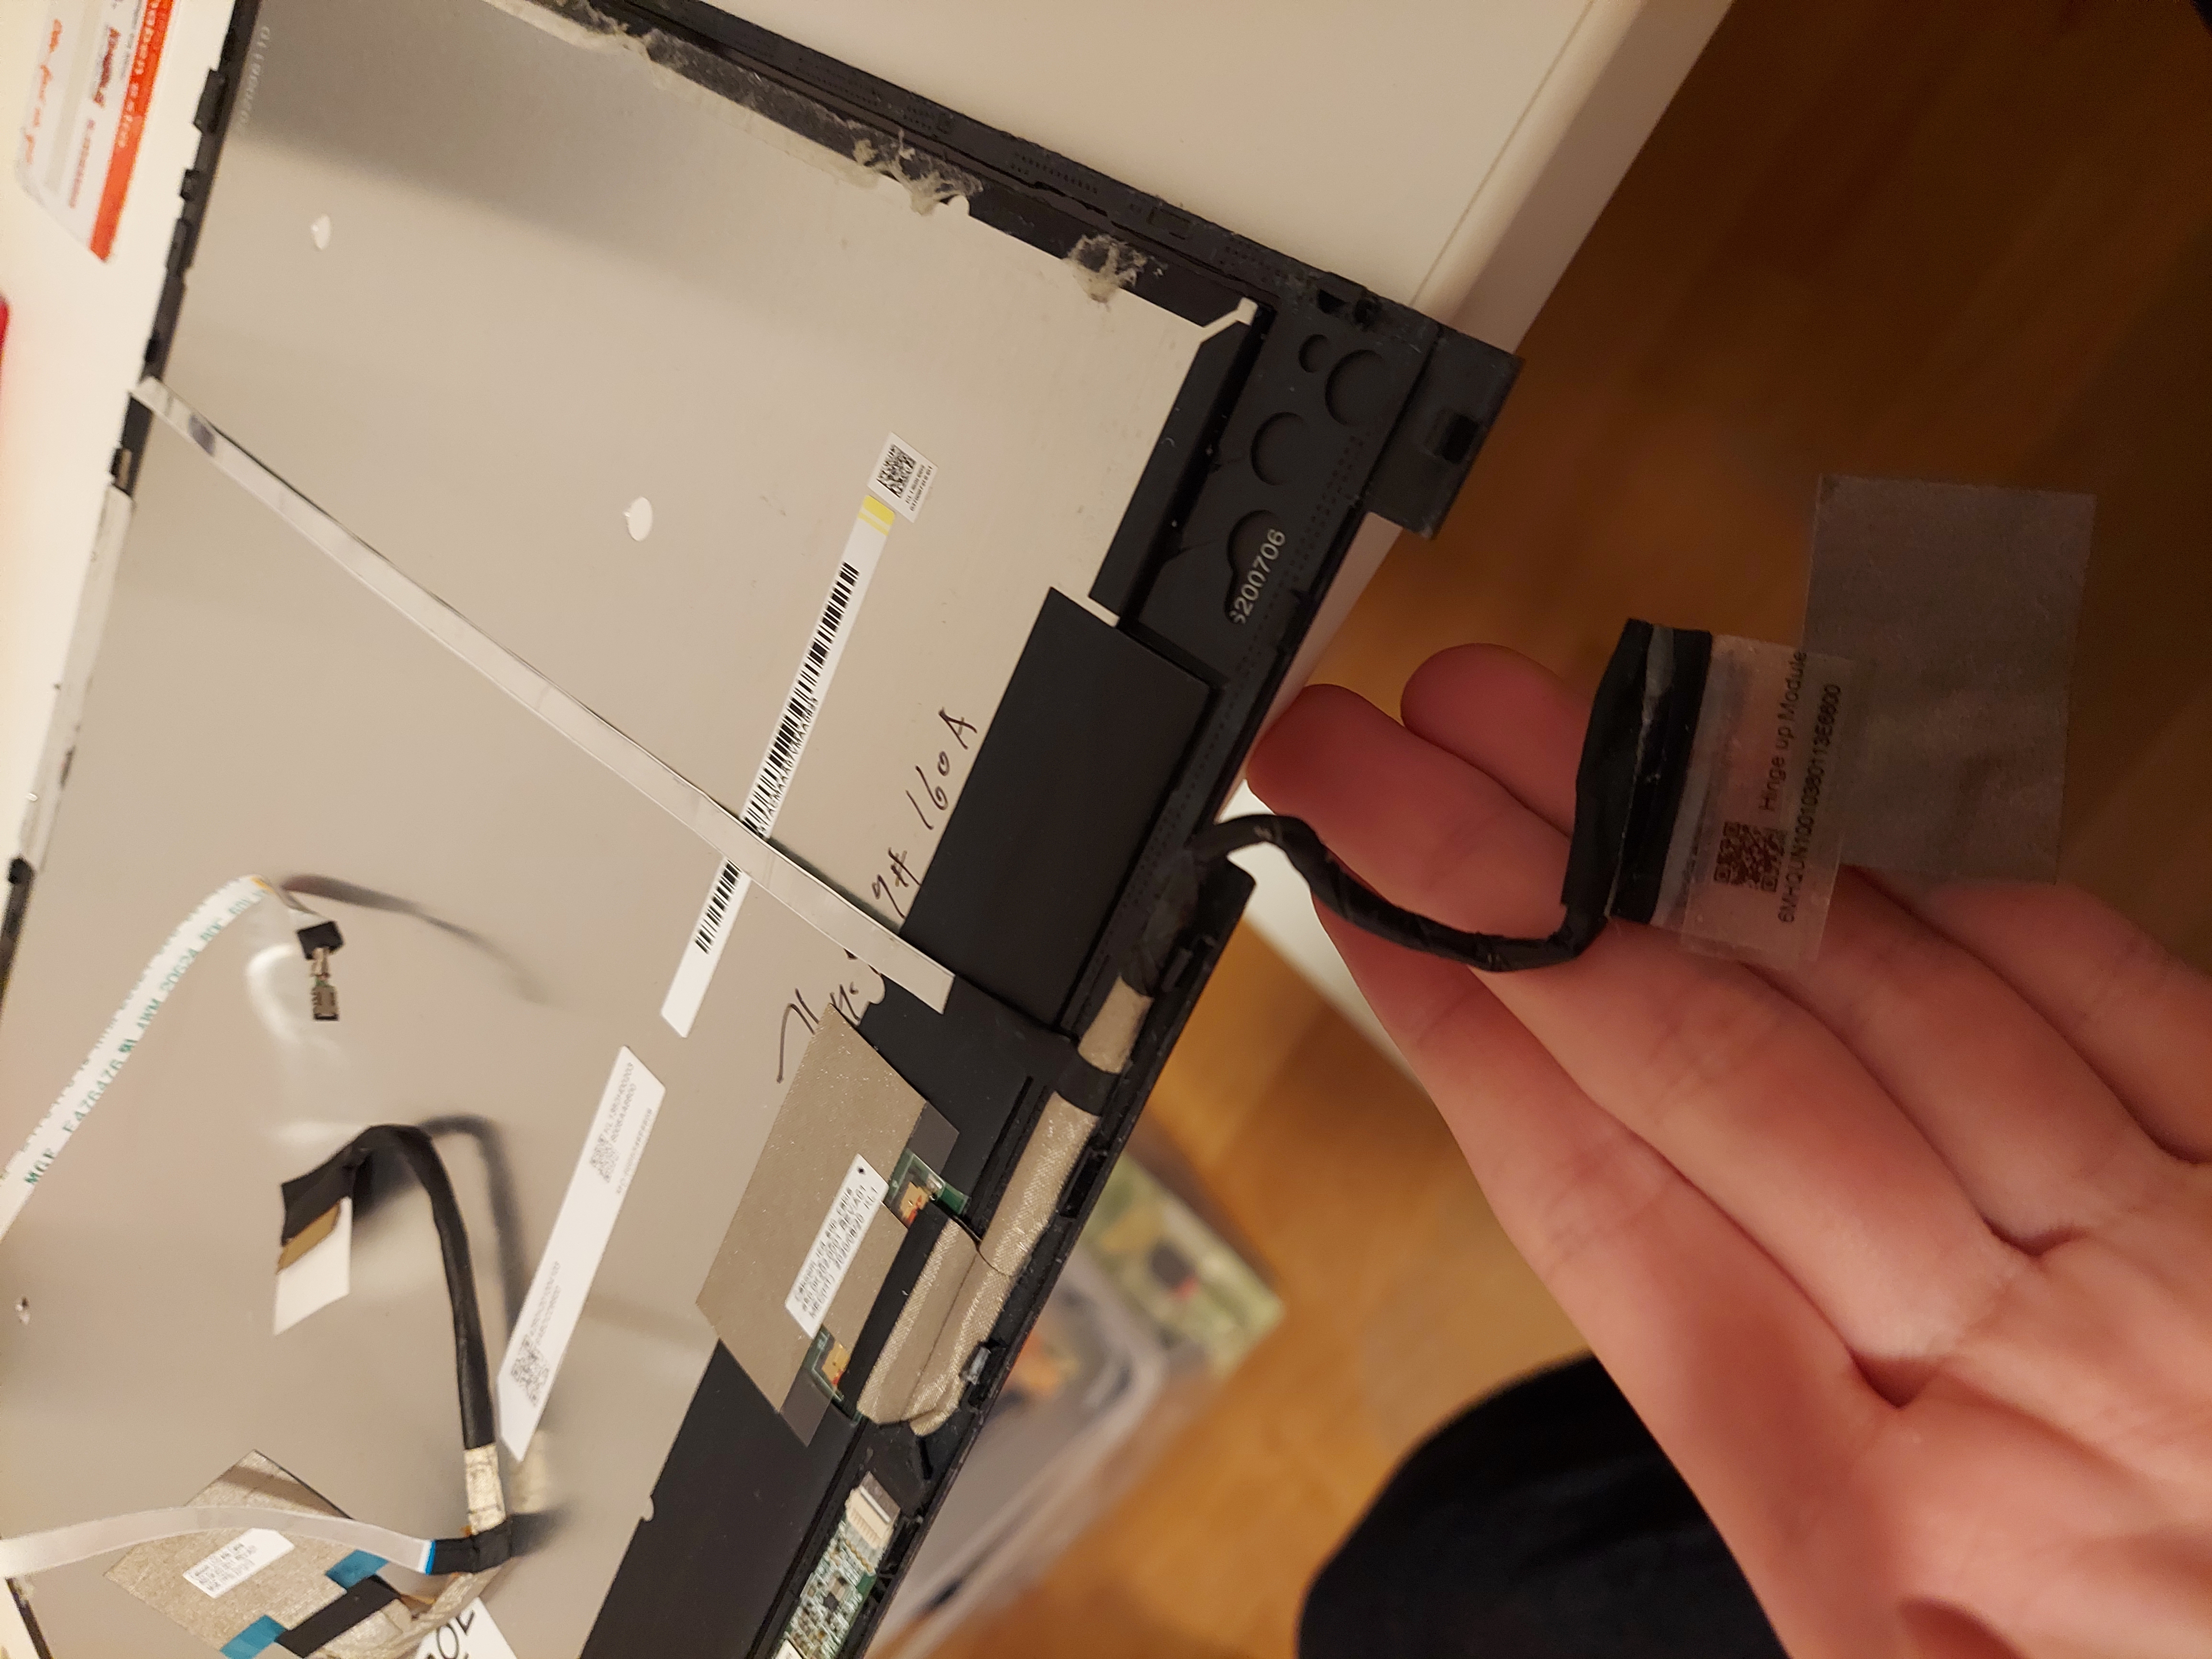
This way, I was able to pry the screen open:
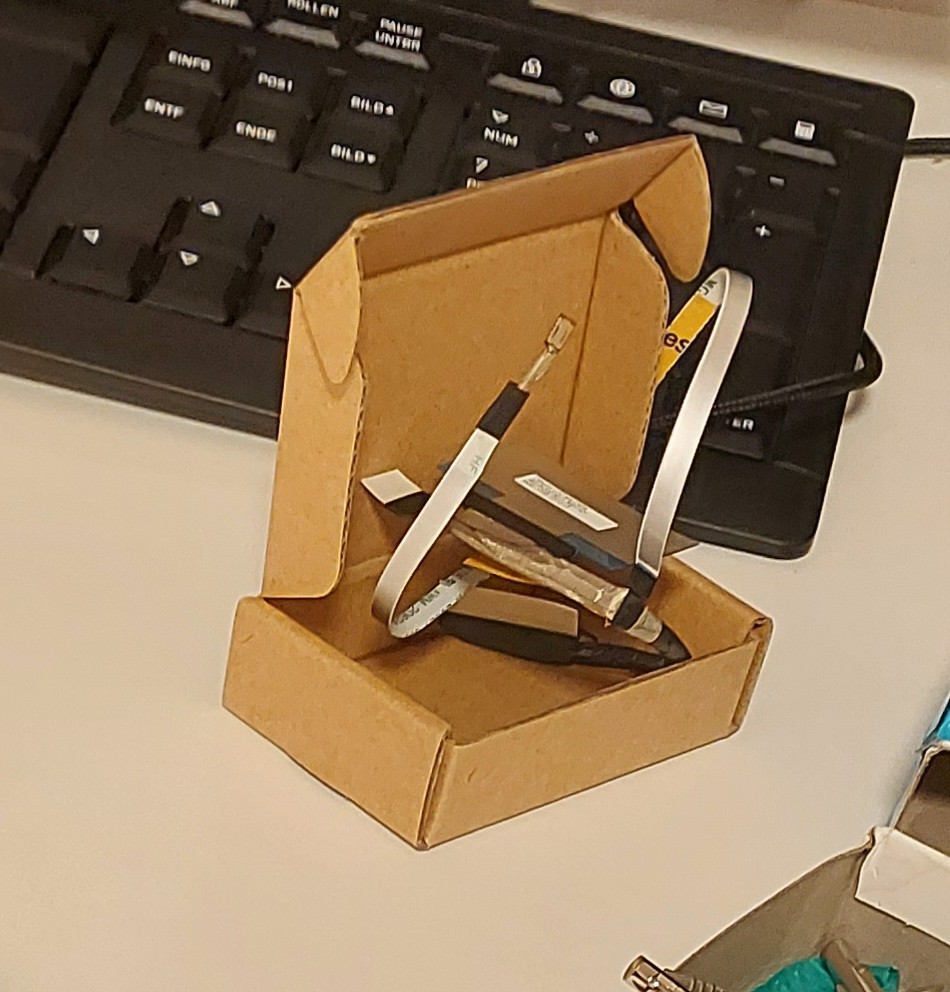
And replace the cable:
Unfortunately, the screen still didn’t work with the new cable. I’m no expert, but I imagine the broken cable may have caused a short circuit or something similar, which destroyed the screen completely. At least it was only the screen and not something inside the laptop.
Replacing the Screen
So, I ordered a new LCD screen online. Sadly, it wasn’t compatible with the touch pen, since replacement parts with the original Wacom technology were much more expensive. By then, I hardly used the pen anymore, so losing that feature wasn’t a big deal.
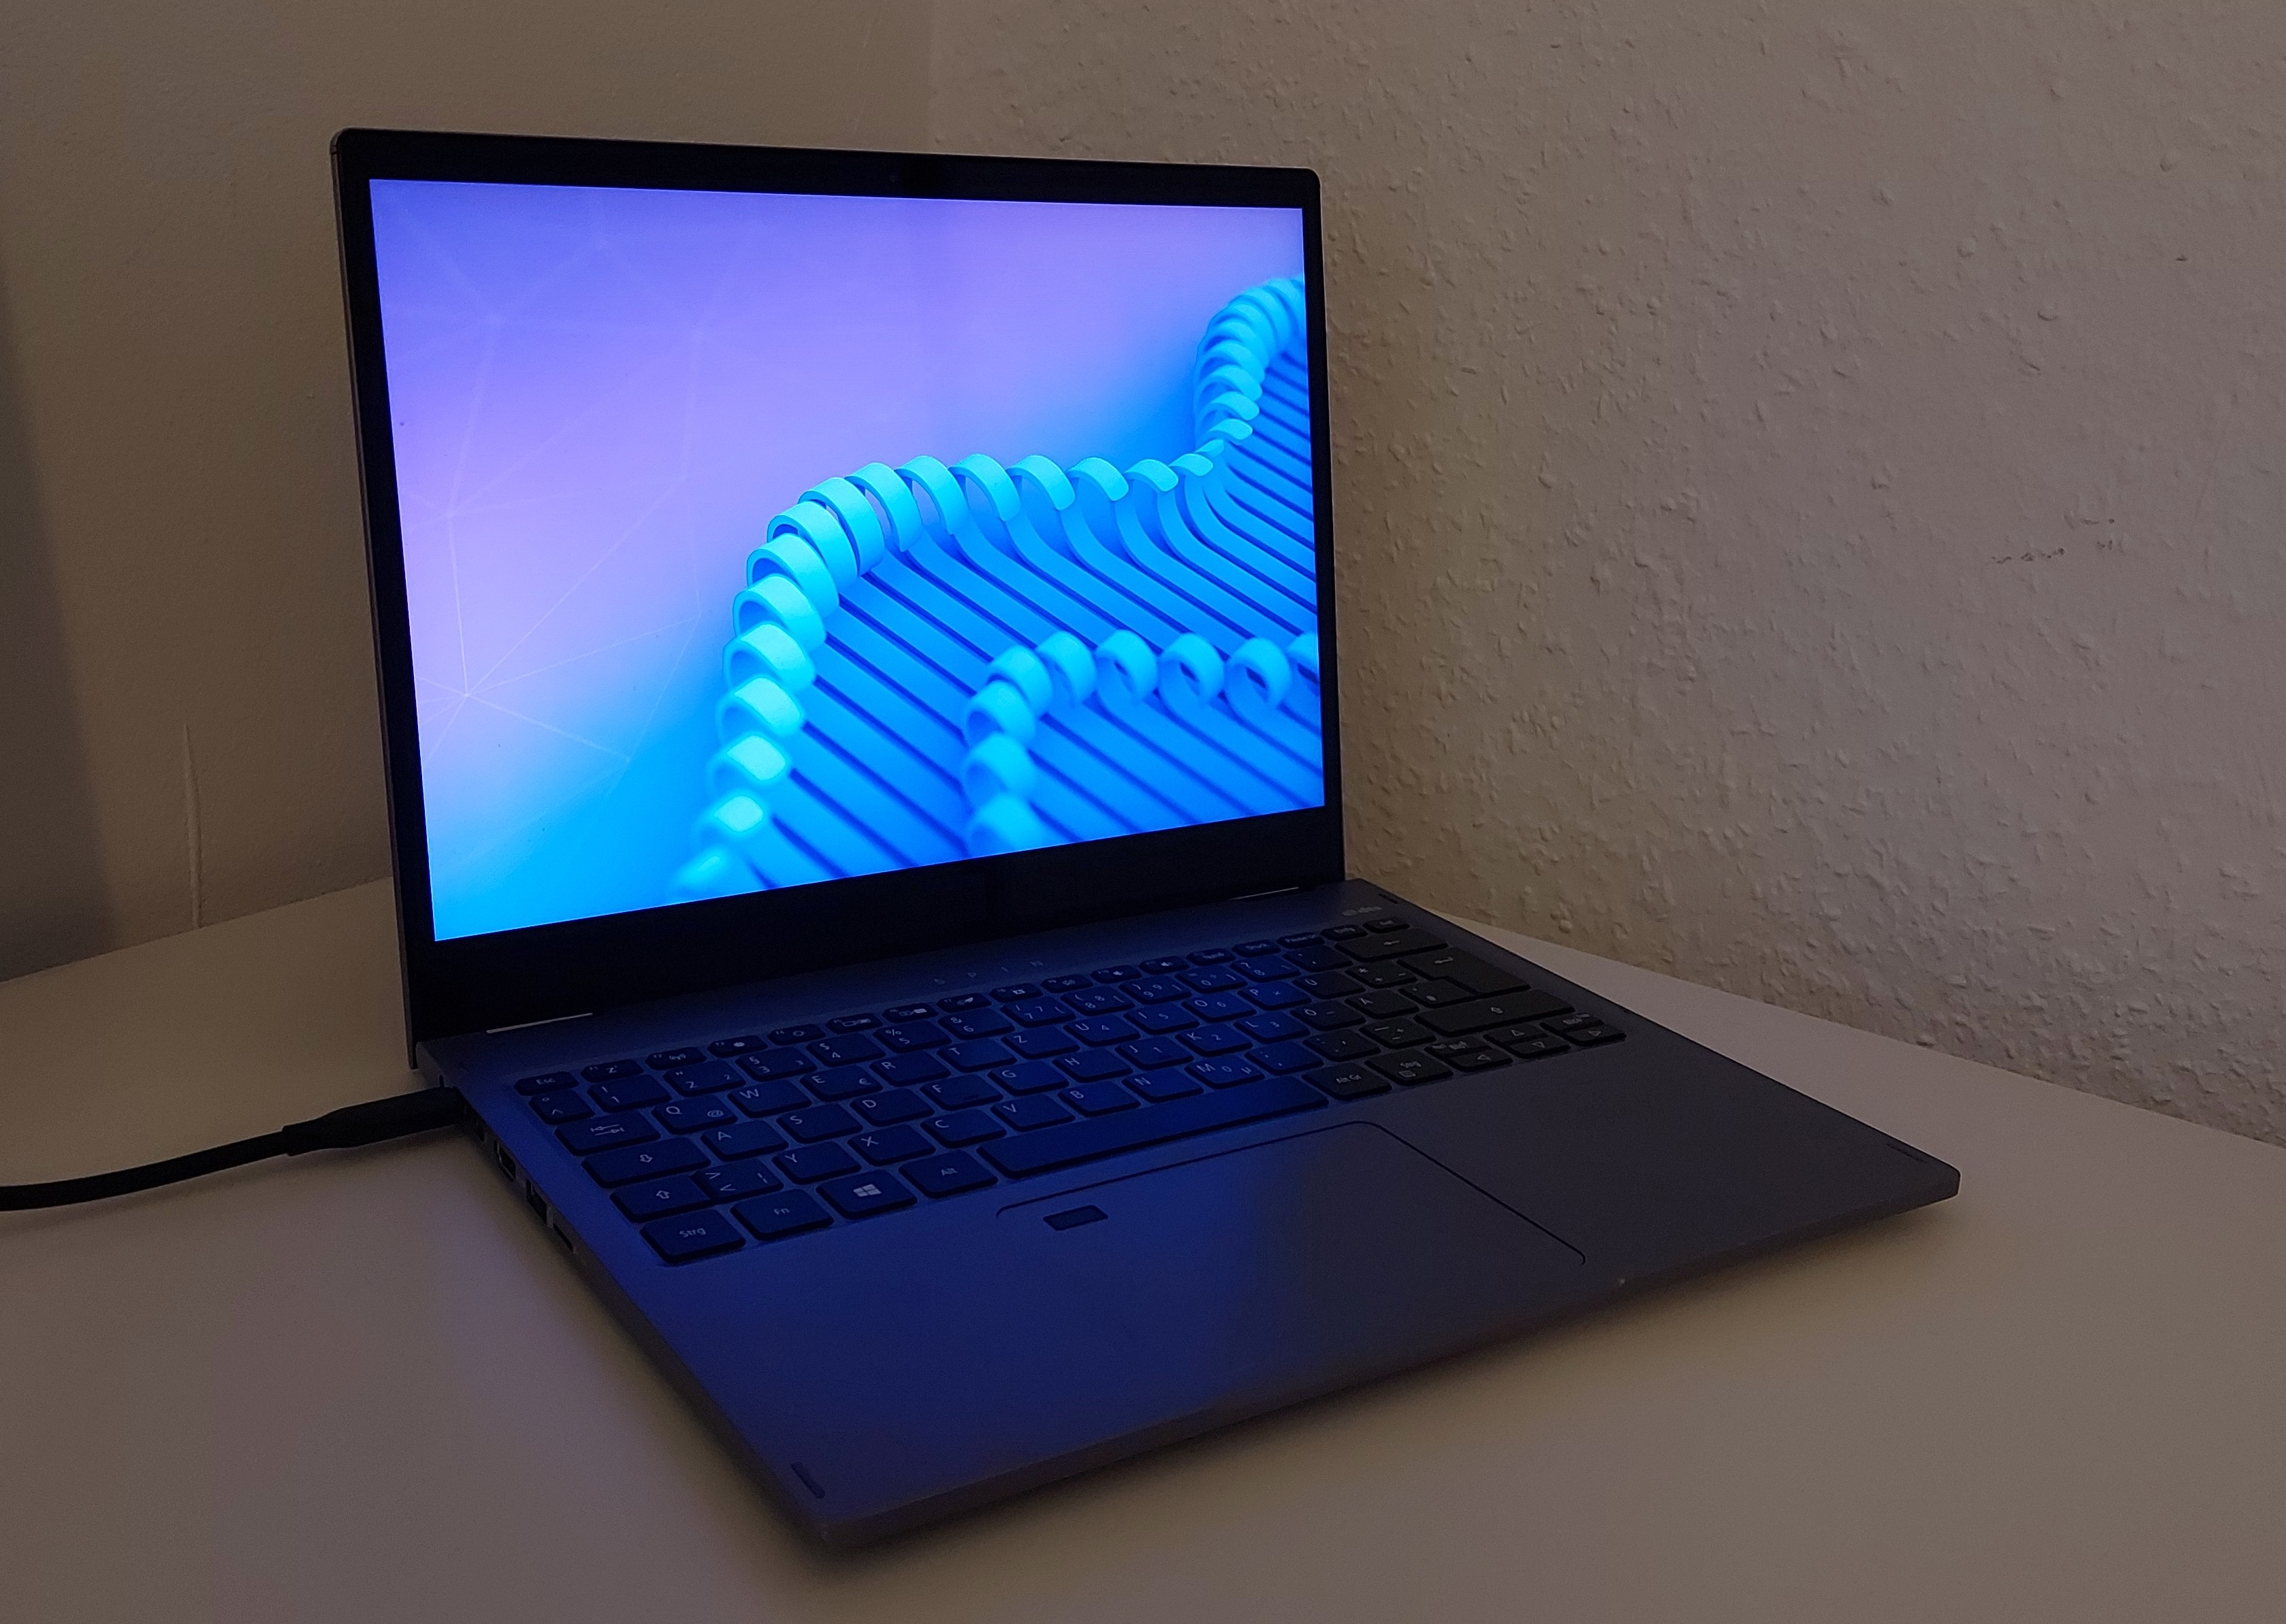
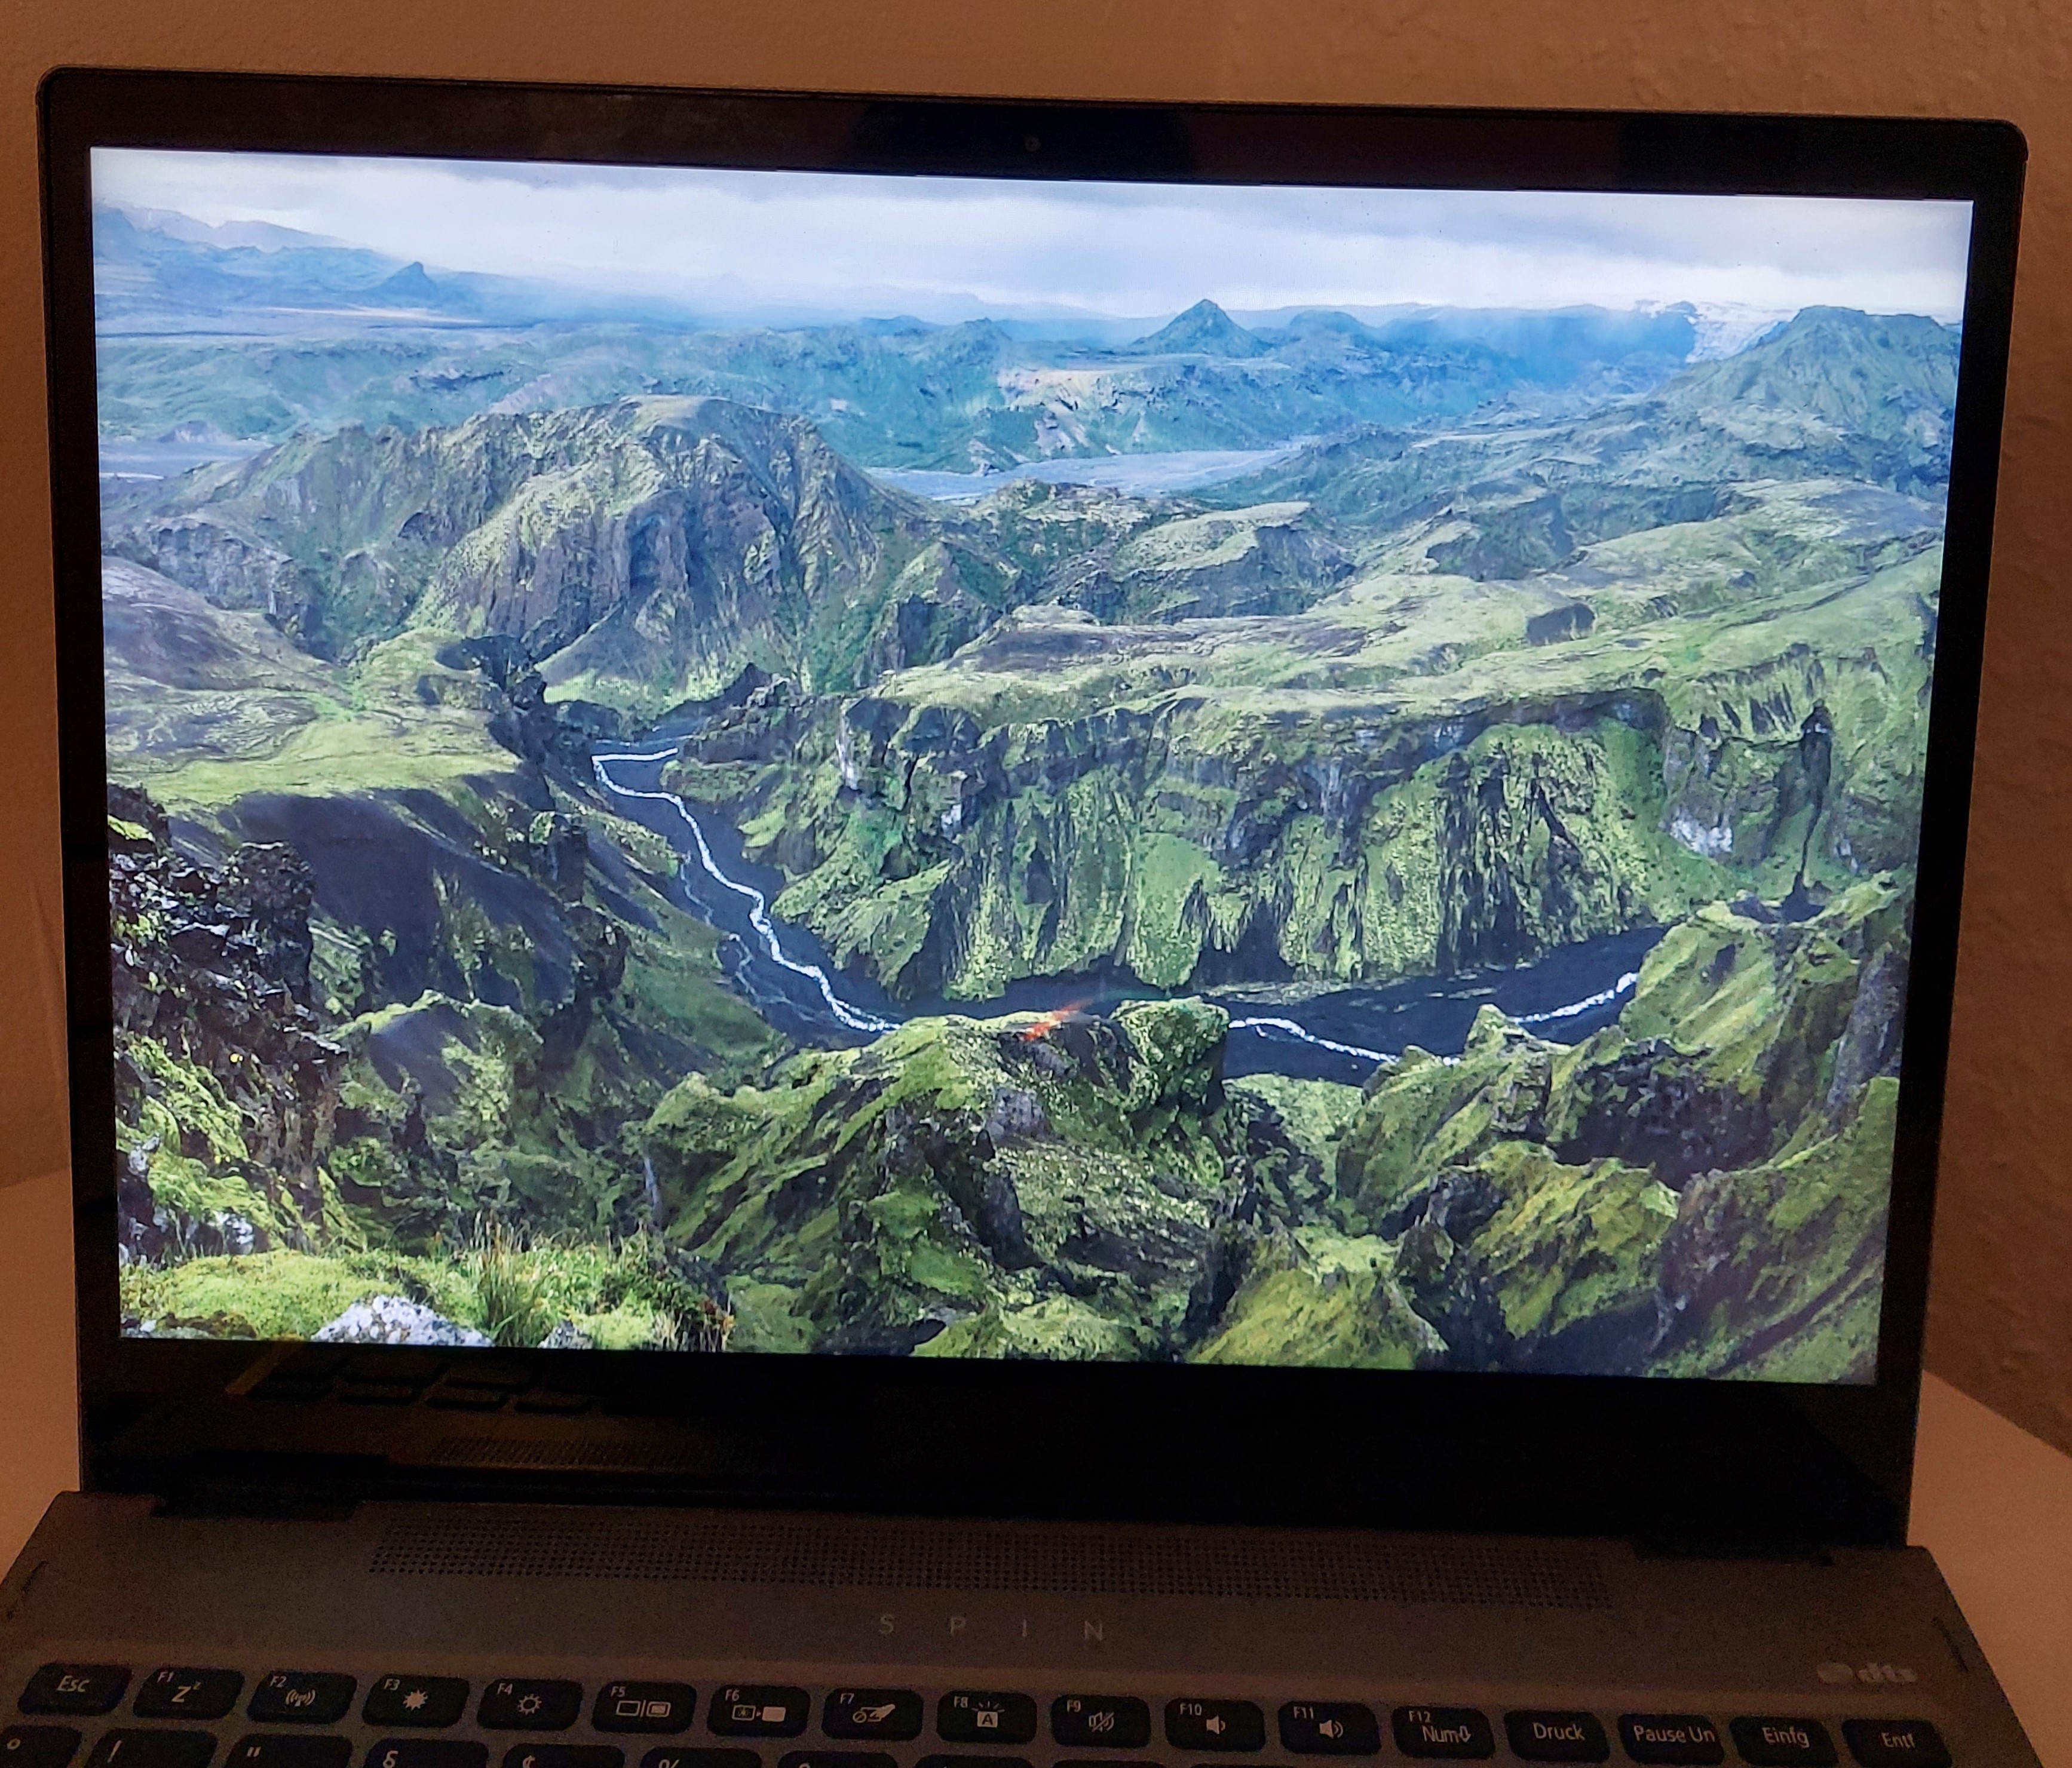
To swap the screen, I had to open the hinges again and pry the old screen out of the back cover. This time, it was much easier. And finally, my repair was successful: The laptop was working again! Since I just pressed the new screen onto the old glue residue and didn’t add any new adhesive, the screen sits a bit loosely on the back cover, but that doesn’t bother me. It also means I can take it apart more easily in the future, for example, if I ever need to replace the cable again.
The Aftermath: A Screw Drama
There was one last issue: After unscrewing and re-screwing the hinge screws twice, the four little screws were quite worn out, and I could only get three back in. To keep the laptop sturdy when opening and closing, I wanted to use all four, so I measured the remaining screw and ordered a set of small screws, hoping to find a match.
The new screws fit well, so I decided to replace all three remaining ones, since they were also showing signs of wear. If I ever need to replace the cable again, it’ll be easier to remove the screws.
The original screws wore out very quickly. When I tried to remove one, it immediately stripped and wouldn’t come out, even with the right screwdriver or other bits. I read online that putting a rubber band underneath can help, but that didn’t work either, even though the screw didn’t look too damaged and was still close to its original shape.
In a desperate attempt, I glued a screwdriver into the screw with superglue, let it dry overnight, and tried again the next morning.
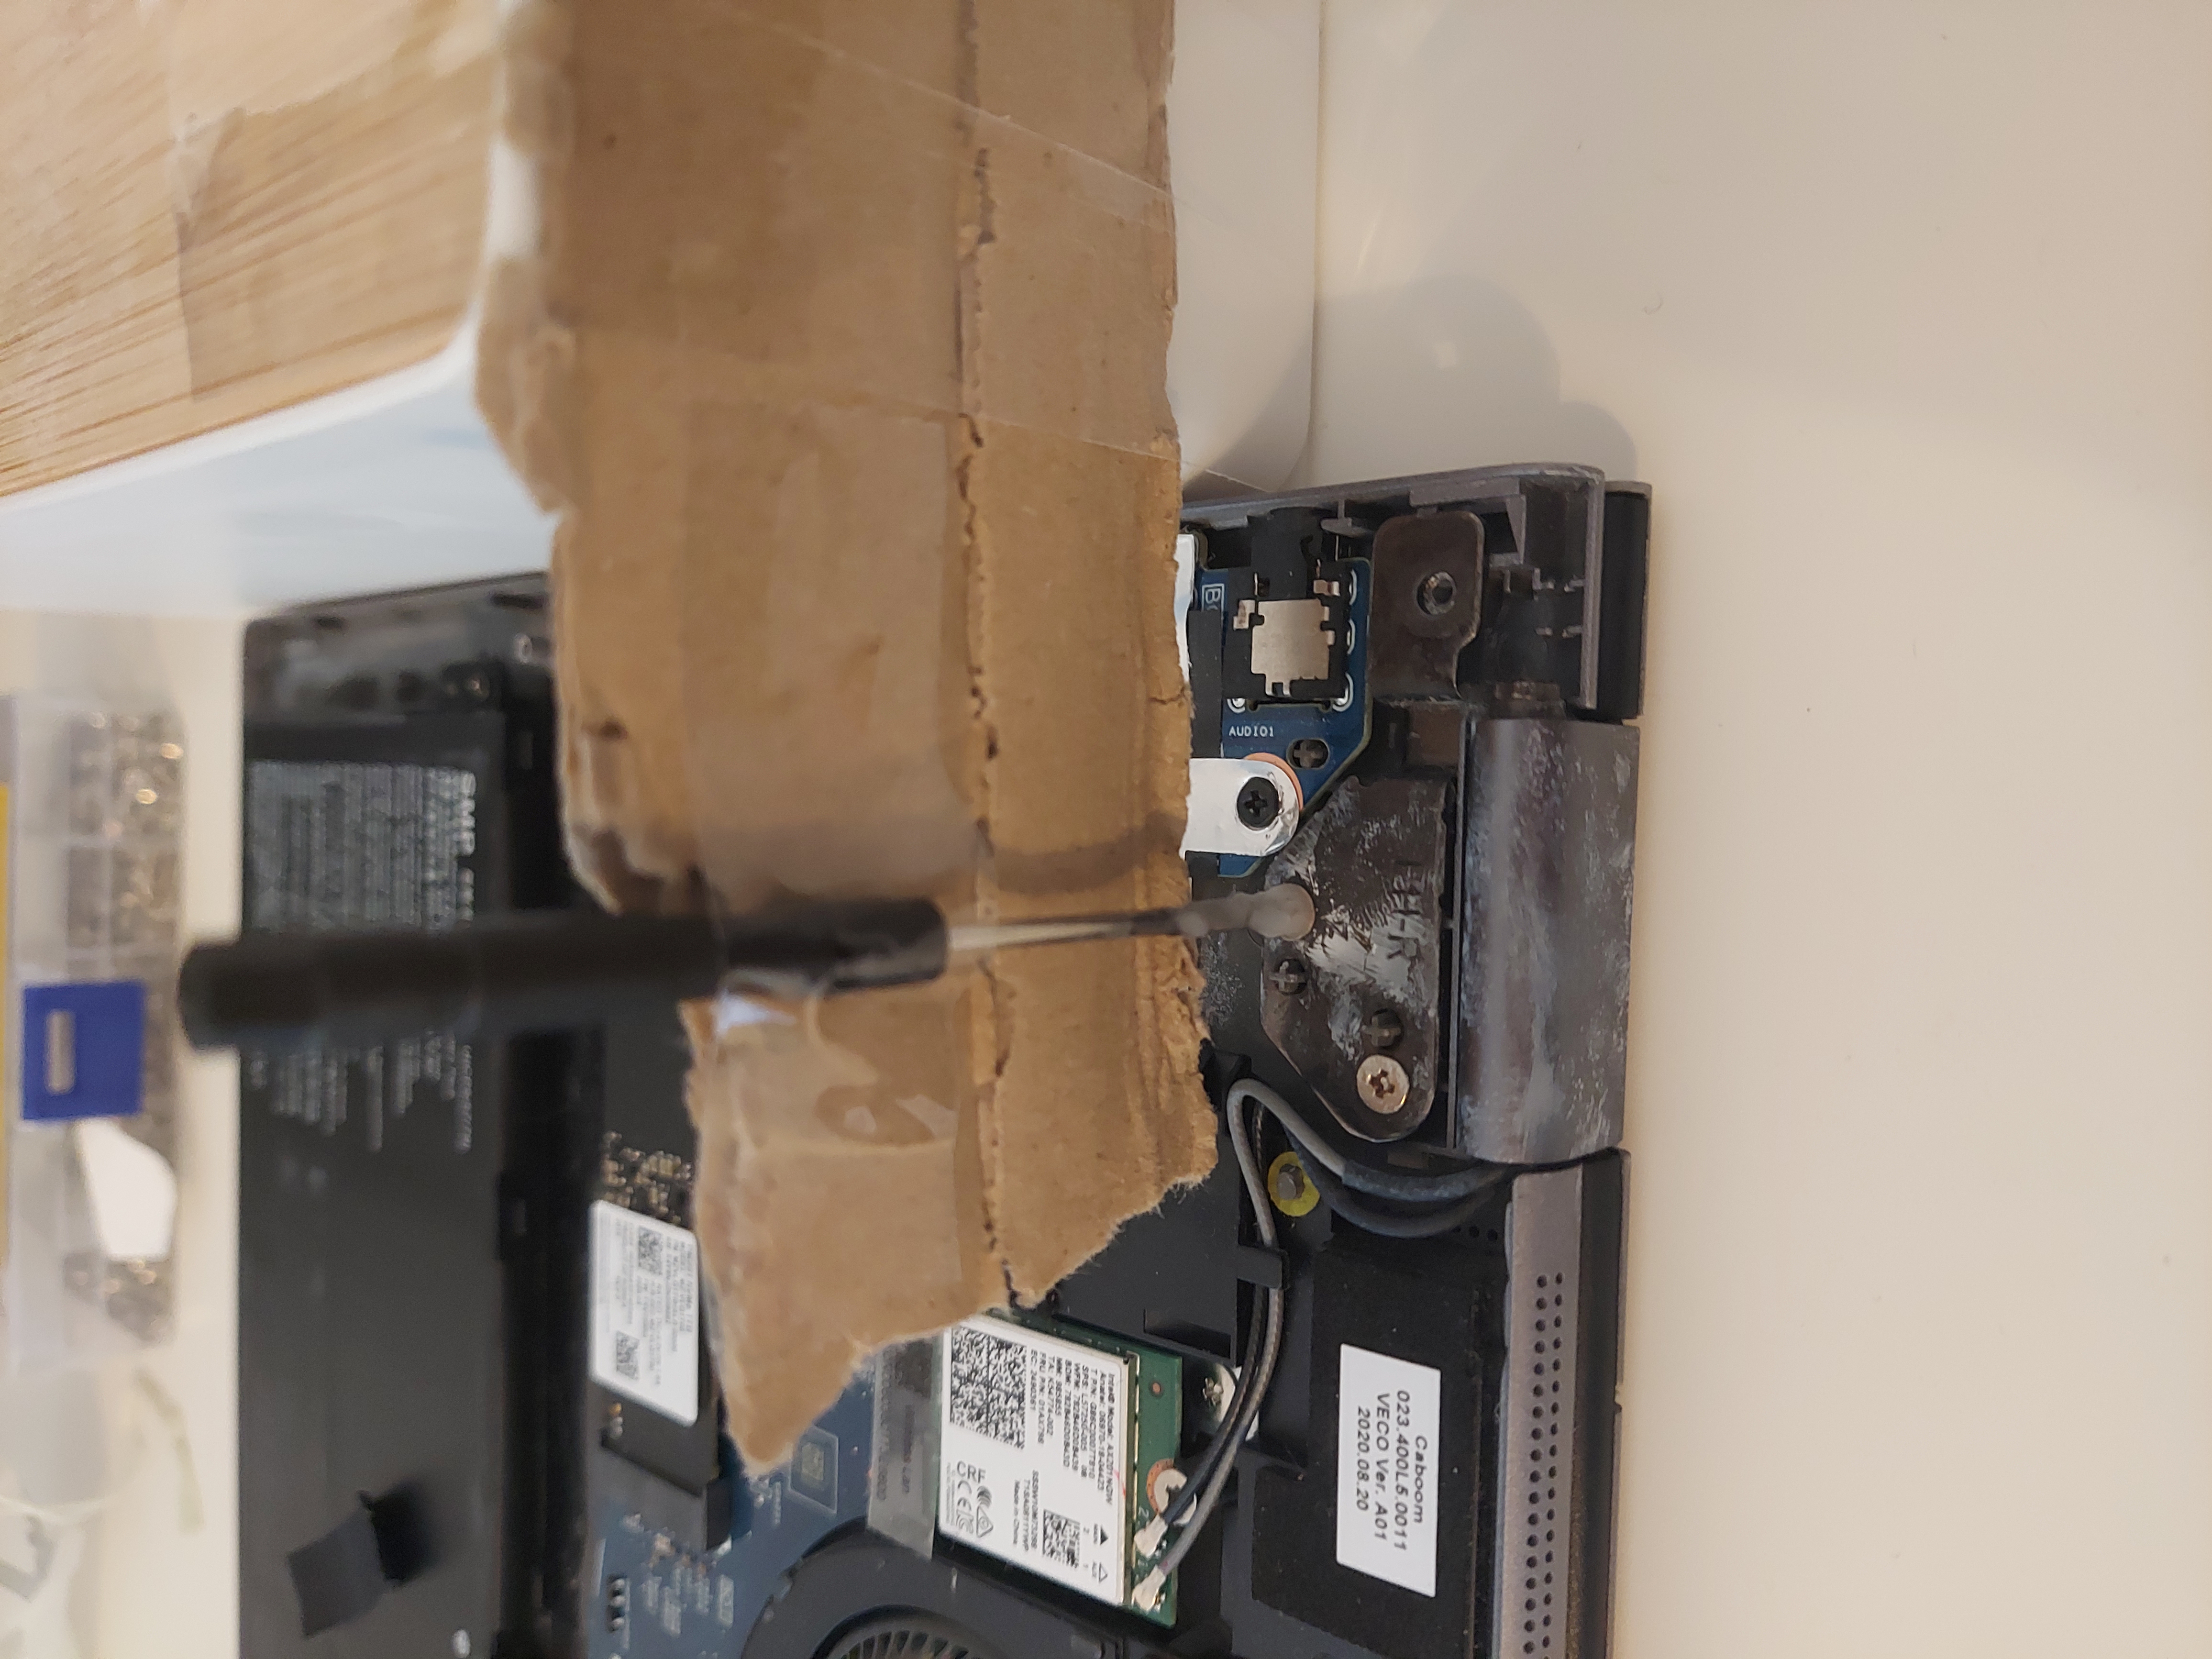
But even that didn’t work.
The next step would have been to drill out the screw or cut a new slot into it with a special tool, but I didn’t want to risk it, since slipping could destroy the laptop completely. It just wasn’t worth it. Luckily, I happened to visit my parents that day and asked my dad to give it a try. He actually managed to get the screw out with a flathead screwdriver. So, if the cable breaks again, I’ll be able to unscrew the screen and replace the cable without any trouble.
Conclusion
It’s a shame the screws are so poorly made and the laptop clearly isn’t designed to be repaired instead of thrown away when something breaks. That would be better for the environment and cheaper, too. Still, the DIY repair worked out well, and I actually enjoyed the process.
Comments
Feel free to leave your opinion or questions in the comment section below.