Building a Robot
Building and programming a self-driving robot with an ESP-32
In spring of 2022, I built a small robot that can drive and programmed it to move around.
The Robot
After some research on what parts I could use, I ordered some things on ebay and went to my favourite hardware stores. I got
- An ESP-32, a small microcontroller to be the brains of my robot.
- 4 motors with wheels attached to them to mount on the bottom of the robot.
- 4 motor drivers to be able to control the speed and direction in which the wheels turn.
First Results
First, I tried to use some old motors I had lying around instead of the ones I bought, which I assumed to be too weak. The general setup of my robot was working well and I was able to control the rotation speed and direction of the motors with some code, but the motors were too weak to actually move the robot.
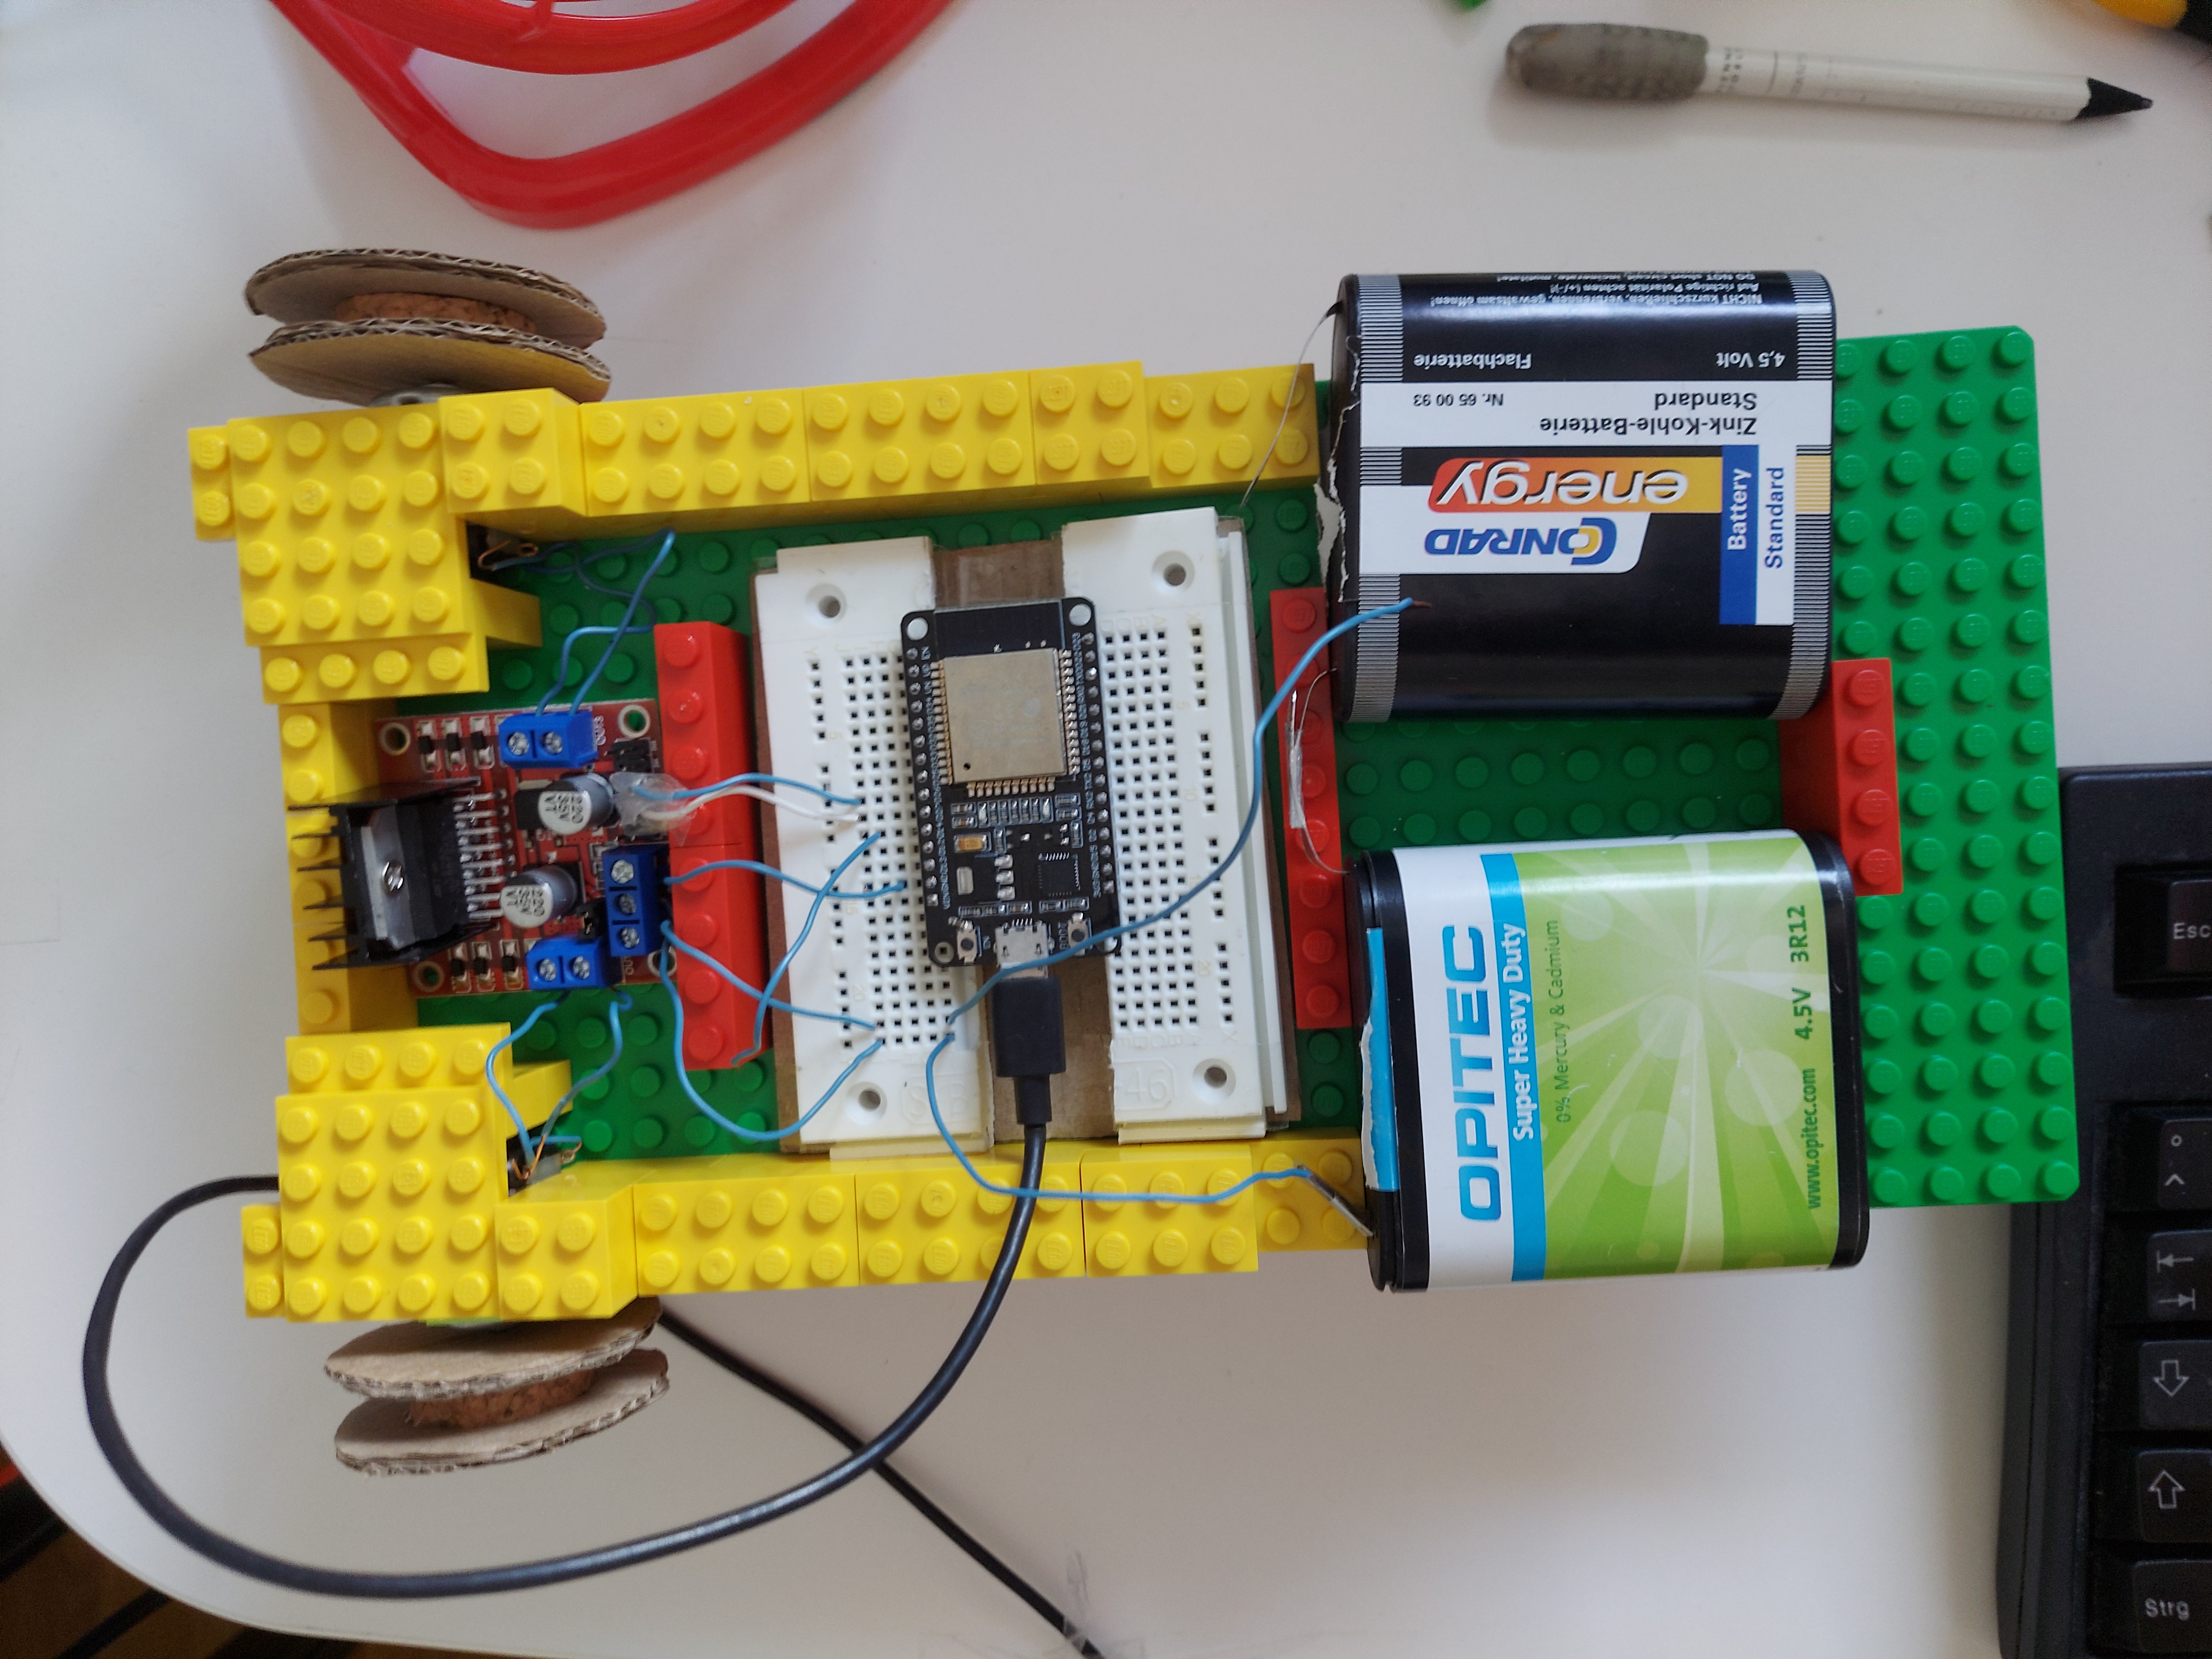
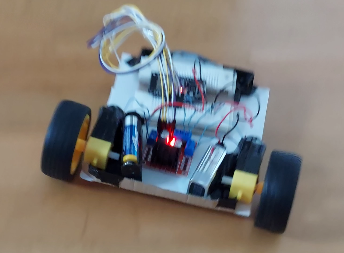
To test if the new motors were strong enough, I assembled the robot using 2 of the wheels I bought and some cardboard. Although this was not the most stable construction, it worked quite well:
Programming the Robot
The code I wrote for this project are C++ Libraries. Then, I used the Arduino IDE for including these libraries, executing their code and transferring the program onto the ESP-32.
Motor.cpp
For example, I wrote a library to control each of the 4 available motors.
class MyMotor
{
public:
MyMotor(String _motorName, int _pin1, int _pin2, int _enablePin, int _pwmChannel, int _freq = 30000, int _resolution = 8);
void start();
void forward();
void backwards();
void stopMotor();
void setDutyCycle(int dutyCycle);
int getResolution();
//void decode(String imgTxt);
void decode(std::vector<unsigned char> png);
void test();
private:
String motorName;
int pin1;
int pin2;
int enablePin;
//PWM:
int freq;
int pwmChannel;
int resolution;
};
MyMotor::MyMotor(String _motorName, int _pin1, int _pin2, int _enablePin, int _pwmChannel, int _freq, int _resolution){
motorName = _motorName;
pin1 = _pin1;
pin2 = _pin2;
enablePin = _enablePin;
//between 0 and 15:
pwmChannel = _pwmChannel;
//in Hertz:
freq = _freq;
//1-16 Bits
resolution = _resolution;
}
void MyMotor::start(){
//Assign Pins:
// sets the pins as outputs:
pinMode(pin1, OUTPUT);
pinMode(pin2, OUTPUT);
pinMode(enablePin, OUTPUT);
// configure LED PWM functionalitites
ledcSetup(pwmChannel, freq, resolution);
// attach the channel to the GPIO to be controlled
ledcAttachPin(enablePin, pwmChannel);
}
void MyMotor::forward(){
Serial.println(motorName+" moving forward");
digitalWrite(pin1, LOW);
digitalWrite(pin2, HIGH);
if (digitalRead(pin1) == HIGH) {
Serial.println("pin "+String(pin1)+" still HIGH");
}
if (digitalRead(pin2) == LOW) {
Serial.println("pin " + String(pin2) + " still LOW");
}
}
void MyMotor::backwards(){
Serial.println(motorName+" moving backwards");
digitalWrite(pin1, HIGH);
digitalWrite(pin2, LOW);
if (digitalRead(pin1) == LOW) {
Serial.println("pin " + String(pin1) + " still LOW");
}
if (digitalRead(pin2) == HIGH) {
Serial.println("pin " + String(pin2) + " still HIGH");
}
}
void MyMotor::stopMotor(){
Serial.println(motorName+" stopped");
digitalWrite(pin1, LOW);
digitalWrite(pin2, LOW);
}
void MyMotor::setDutyCycle(int dutyCycle){
if (dutyCycle<0 | dutyCycle>= resolution*32){
Serial.println("---ERROR: speed/dutycycle is "+String(dutyCycle) +", which is higher than dutycycle resolution ("+String(resolution)+")");
}else{
ledcWrite(pwmChannel, dutyCycle);
}
}
int MyMotor::getResolution() {
return resolution;
}Comments
Feel free to leave your opinion or questions in the comment section below.